High-Humidity Baby Food Preparation: 9 Science-Backed Fixes
10th Jun•9 min read
As parents cramming baby gear into a 400-square-foot studio, emergency baby food preparation isn't just about disasters (it's Tuesday). When the power flickers during naptime, you need off-grid baby food solutions that won't wake your infant or clutter your galley kitchen. Forget expensive electric gadgets. If you still want a power-free or battery-ready toolset, see our verified portable baby food makers for camping and outage scenarios. After testing dozens in my own cramped space, I've found that disaster-ready baby feeding boils down to smart workflows, not shiny tools. One tool that replaces three is money in the bank. Here's your no-power panic plan, grounded in real-world disaster preparedness for parents.
Buy once, cry never applies doubly when you're responsible for a tiny human's nutrition.
During outages, your tap water may be unsafe for formula or cooking. Always boil first (this isn't optional). Fill a small pot with water, bring to a rolling boil for 1 minute (3 minutes above 6,500 feet), then cool to room temperature. Clemson University extension reports confirm this kills Cronobacter bacteria that thrive in powdered formula. Store cooled water in pre-sterilized containers (more on that later). Skip this step, and you risk infant illness. For formula prep: measure boiled water first, then add powder per CDC guidelines. Too little water strains kidneys; too much dilutes nutrients. Keep emergency water in 4-ounce portions (exactly one bottle's worth) to avoid waste.
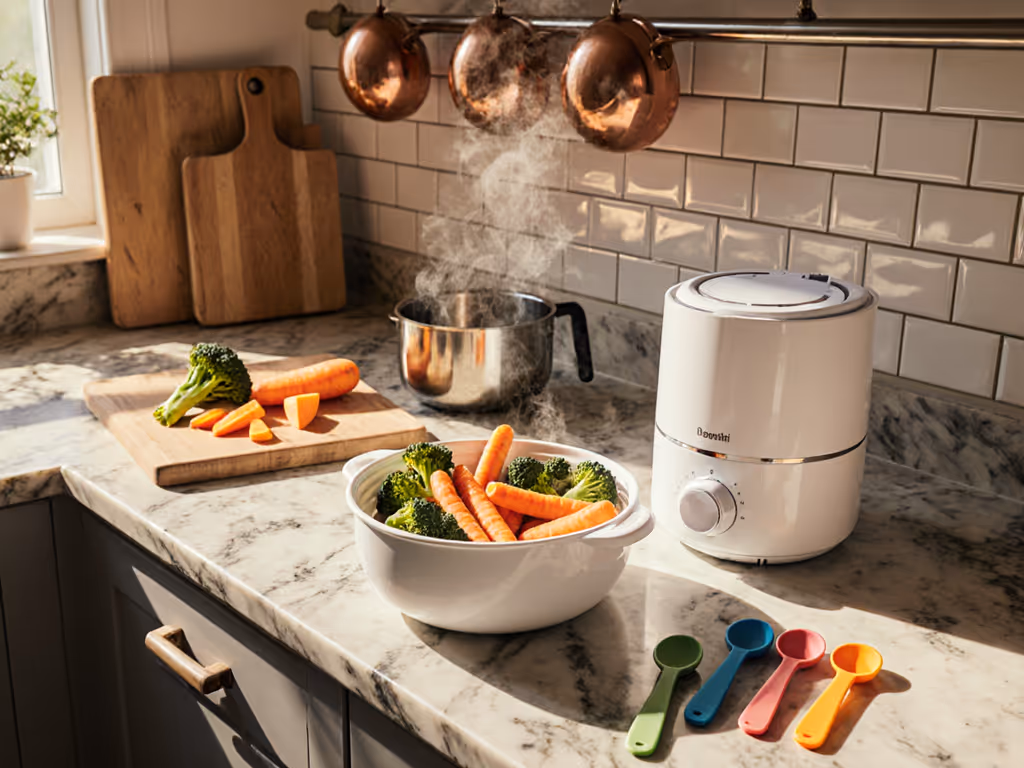
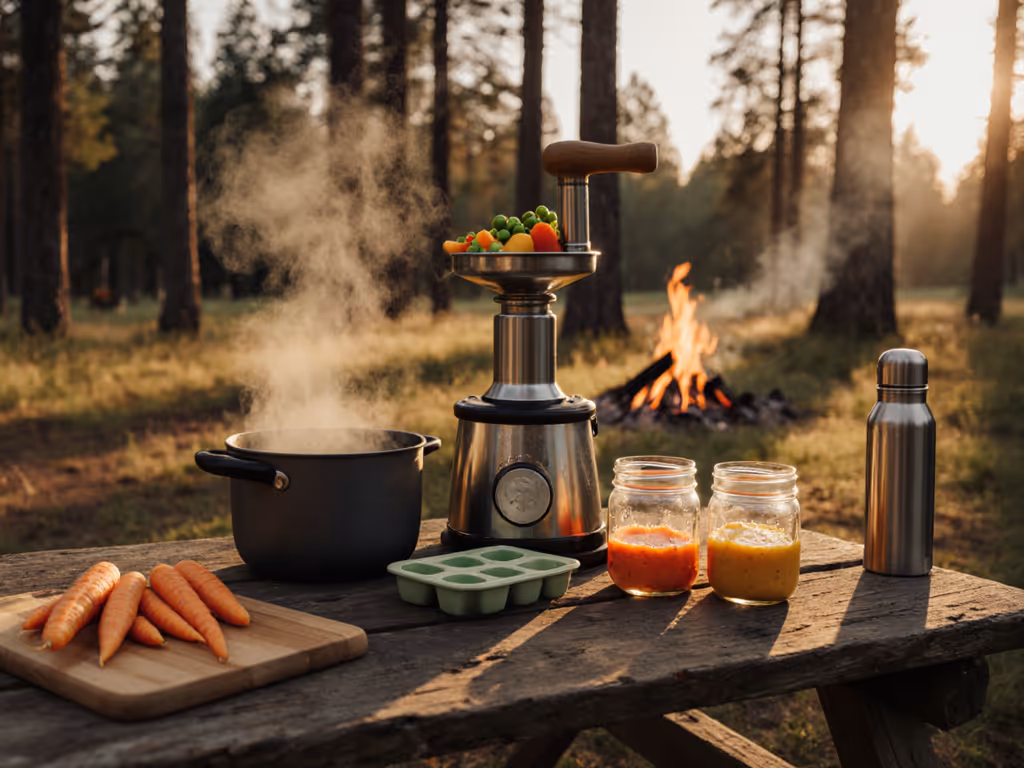
Electric steamers fail when power does. Instead, repurpose a single 2-quart saucepan:
Why this wins: One pan replaces steamer + blender base. No plugs, no cords, no counter hogging. Clemson HGIC data shows simmering preserves nutrients better than boiling. For a deeper look at how steaming compares to non-steaming for nutrition and practicality, read our nutrient retention comparison. And crucially, it's silent. While neighbors stress over blenders, your saucepan whispers. Plus, you're already using it for adult meals post-weaning. Price-to-performance math? $0 additional cost.
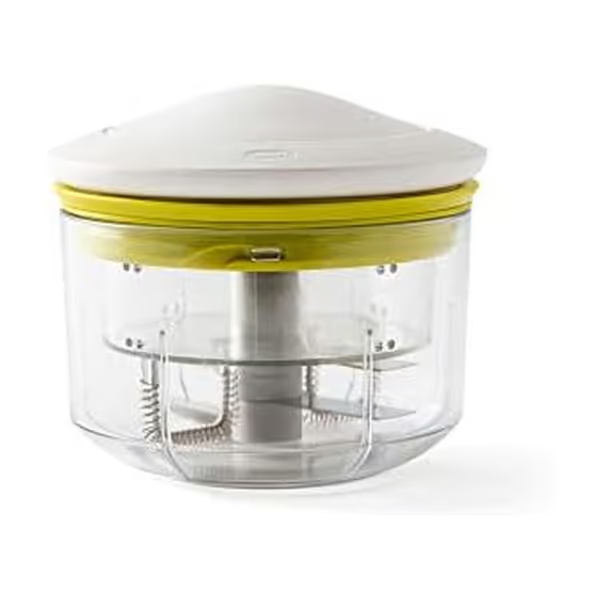
Loud appliances = naptime suicide. Our handheld blender vs baby food maker guide explains which option stays quiet and efficient in small spaces. Ditch electric blenders for:
Skip-this flag: Single-serve jar blenders. They waste counter space and create multiple parts to clean mid-panic. Value tiers show manual tools cost 1/5th of electric but last longer with no motor burnout.
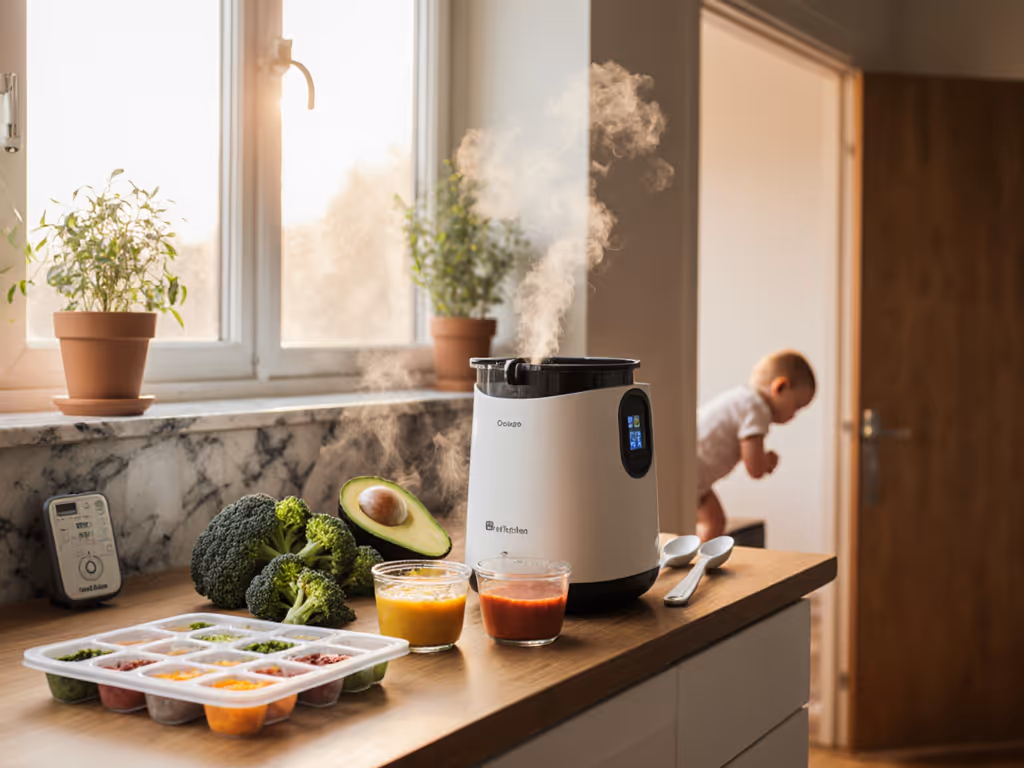
Purees freeze beautifully, but skip standard ice cube trays. They're bulky and leak in diaper bags. Instead:
FDA guidelines note: Freeze purees max one month. Get portion sizes and labeling tips in our baby food storage guide. Label each with date/ingredient (e.g., "carrot-10/28"). For formula emergencies, pre-measure powder into sterilized bottles and store water separately (never premix).
If breastfeeding isn't an option, plan for:
Power outage baby feeding fails when parents overlook heating. Never microwave formula. It creates hot spots. Instead, warm bottles in a bowl of hot tap water (test on wrist first!).
Don't wait for disaster. This disaster preparedness for parents checklist takes 15 minutes:
Track your workflow time: In my studio kitchen, this system takes 8 minutes versus 22 minutes with electric gear. The mental load reduction? Priceless.
In our galley kitchen, I learned to batch-cook purees in a rice cooker, then blitz quietly with a stick blender while the baby slept. One tool replaced three, and cleanup meant one cup. Translate this to outages: cook one big pot of carrots, then portion into storage. For time-saving workflows, follow our complete batch prep methods. Rotate ingredients weekly so you're never scrambling. Remember, you're not failing if you use store-bought pouches day one. Disasters are about safety, not perfection.
Your actionable next step: This weekend, boil water and freeze one batch of purees using your existing pots. Time yourself. If it takes over 10 minutes, simplify. Because in tiny kitchens, time is counter space (and both are sacred). Buy once, cry never starts with what you already own.