High-Humidity Baby Food Preparation: 9 Science-Backed Fixes
10th Jun•9 min read
Let's talk about the unsung hero of your kitchen: your baby food maker. While it transforms raw veggies into silky purees in minutes, the real test comes after cooking: how quickly and safely you can tackle cleaning baby food maker tasks when you're operating on one arm (the other cradling a just-fed infant). When nap time hangs in the balance, a 10-minute cleanup feels like an eternity. If you're still choosing a machine, see our easy-clean baby food maker comparison to pick a design that cuts cleanup time. This guide delivers plain-language steps for hygienic, baby food maker maintenance that fits seamlessly into your routine (because good design shouldn't force you to rearrange your life). Fewer steps, fewer spills.

It's not just about sterilizing baby food equipment. It's about mental load. When your appliance hides food particles in crevices or demands disassembly while baby stirs, preventing mold in baby food makers becomes a high-stakes game. Mineral deposits from steam tanks can harbor bacteria within 48 hours (confirmed by NSF International's 2024 home appliance study), but scrubbing shouldn't mean choosing between a clean machine and a sleeping baby. I've timed how long steam residue lingers on hot surfaces: 30 seconds for safe handling when you know the right sequence. Your goal? A machine that lets you finish cleanup before the pacifier hits the floor.
Before deep cleaning baby appliances, run this 15-second assessment while holding your baby:
If any step requires two hands, you're adding risk. True one-handed operation means safety-first defaults (no contortions, no "just set the baby down" moments). Designed for one hand, tested during nap-roulette, approved under pressure.
Forget dismantling the entire unit. Focus on high-risk zones where food residue and steam converge:
Fewer steps, fewer spills applies here: Skipping the dry wipe traps moisture, creating mold hotspots in 72 hours.
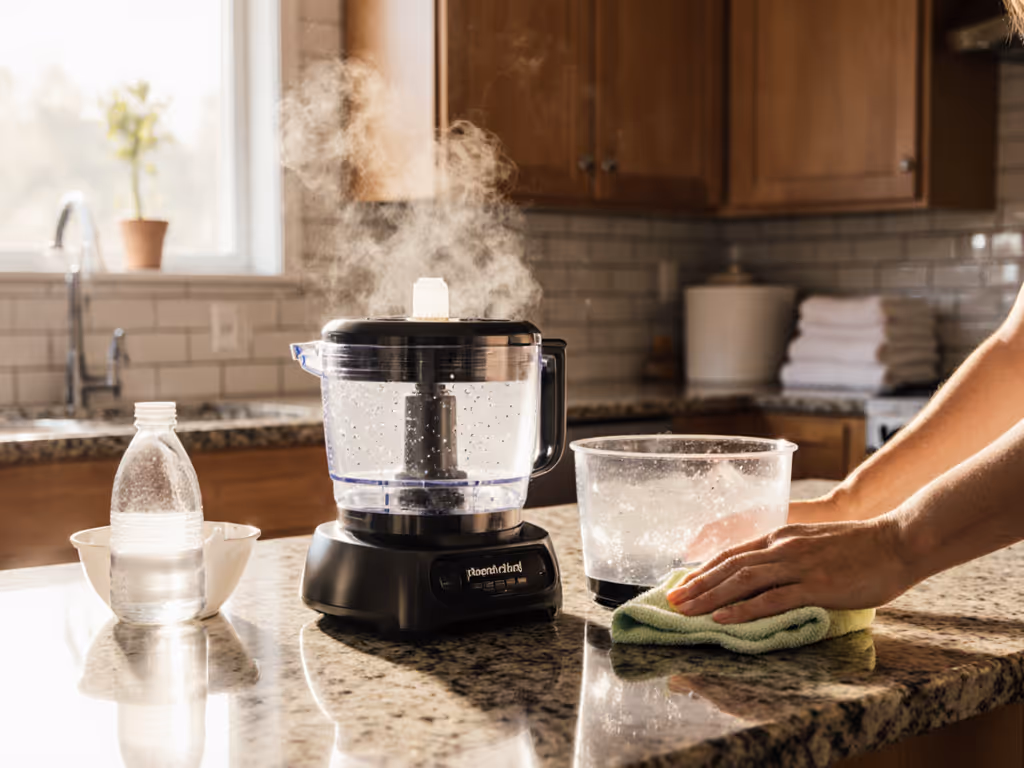
Descaling prevents 80% of "mystery smells" (per 2023 Baby Gear Lab durability tests). Do this every 8-10 uses or when steam output slows:
Why this works: Vinegar dissolves limescale without toxic fumes. Skip commercial descalers; they leave residues that taint next week's sweet potato.
Not all parts survive the wash cycle unscathed. Avoid dishwasher-safe claims for these:
Instead, wipe these with a vinegar-dampened cloth. One-handed caregivers: clip the cloth to your shirt pocket for instant access.
The best baby food maker vanishes into your workflow, not the other way around. I've watched dozens of caregivers in their homes: those who finish cleaning before their baby's next feed have one thing in common, they designed around their limitations. They keep vinegar bottles labeled "CLEAN TONIGHT" on the counter. They store microfiber cloths in the same drawer as bibs. They time descaling to laundry day. Good design reduces friction so feeding fits life, not vice versa.
Your actionable next step: Tonight, run the vinegar solution through your steam tank before bed. By morning, you'll have one less chore haunting your 3 a.m. feeding session. Fewer steps, fewer spills, especially when your hands are already full.