Pediatrician Recommended Baby Food Prep: Step-by-Step Guide
12th Nov•10 min read

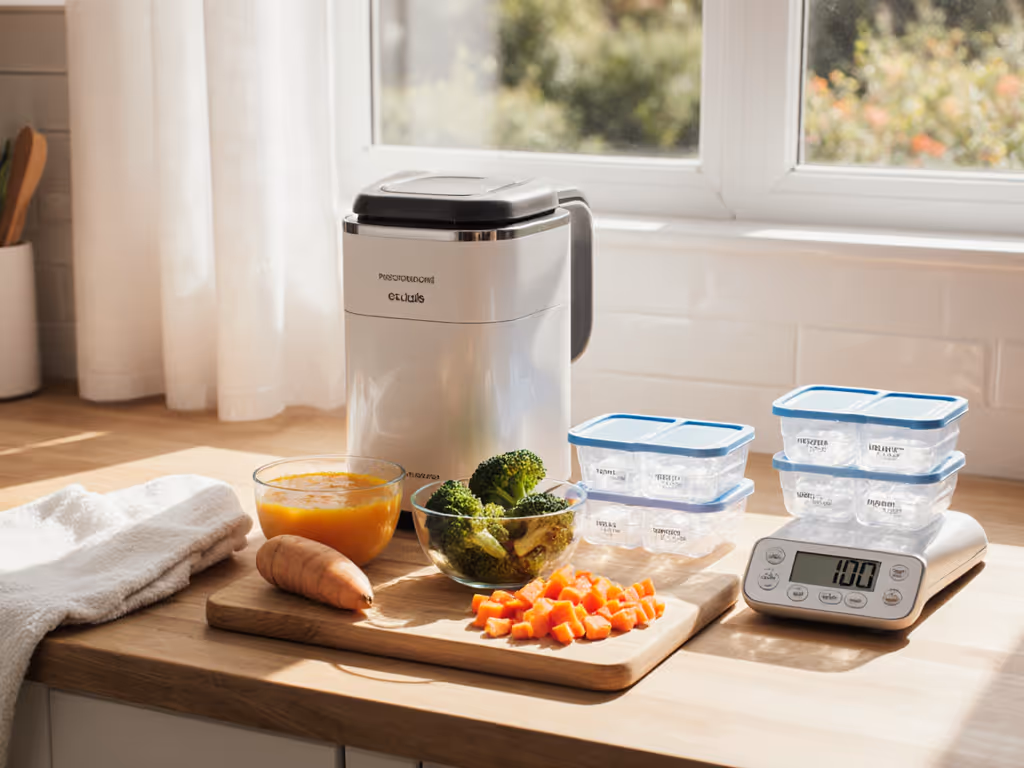
Did you know that over 90 percent of parents say homemade baby food gives them more control over nutrition and ingredients? Deciding how to start can be confusing, especially with so many baby food makers and meal prep styles out there. Sorting through your baby's needs, safety, and your lifestyle is the first big step toward making healthy meals at home that fit your daily routine.
| Key Point | Explanation |
|---|---|
| 1. Assess your baby's stage and needs | Understand your baby's developmental readiness for solid foods and tailor your preparation approach accordingly. |
| 2. Prioritize safety and noise levels | Choose baby food makers that are safe, quiet, and designed to prevent accidents, especially during naptime. |
| 3. Focus on ease of cleaning | Select equipment with removable, dishwasher-safe parts and smooth surfaces for efficient maintenance and sanitation. |
| 4. Test appliance suitability in your kitchen | Measure counter space for compatibility and trial the machine to ensure it meets your functional needs. |
| 5. Check for versatility and durability | Look for equipment that can adapt as your baby grows, offering multiple food preparation options for long-term use. |
Navigating the world of baby nutrition can feel overwhelming. This step helps you understand exactly what equipment and approach you need to make healthy meals for your little one.
First, assess your baby's developmental stage. Most pediatricians recommend introducing solid foods around 6 months when your infant can sit upright and shows interest in what you're eating. Not every baby is the same some might be ready slightly earlier or later.
Consider your daily routine and lifestyle. Are you a working parent with limited time? Do you prefer batch cooking or preparing meals fresh daily? These factors significantly impact the type of baby food preparation equipment you'll want to select.
Your nutritional goals matter too. Some parents aim to create organic purees from scratch while others want convenient options that still provide balanced nutrition. The University of Minnesota Extension recommends understanding portion sizes and nutritional requirements specific to infant feeding stages.
Pro Tip: Consult your pediatrician about your baby's specific nutritional needs. Each child develops differently and requires personalized dietary guidance.
Pay attention to your kitchen setup and available time. Do you have counter space for multiple appliances? How much time can you realistically dedicate to food preparation? These practical considerations will guide your equipment selection process.
Next up: We'll explore different baby food maker types that match your specific needs and lifestyle. Get ready to become a baby nutrition pro.
Your baby food maker is more than just an appliance its a critical tool in your little one's nutrition journey. In this step, we will explore how to select equipment that keeps both safety and peace and quiet at the forefront.
First, focus on noise levels. Parents know how precious naptime is and the last thing you want is a loud machine disrupting your baby's sleep. Look for appliances specifically marketed as quiet or low decibel. Manufacturers often provide specific noise range information that can help you make an informed decision.
Safety should be your top priority. The Occupational Safety and Health Administration (OSHA) recommends thorough machine guarding to prevent potential injuries. This means checking for secure blade attachments, stable bases, and automatic shut off features that protect curious little hands.
Pay attention to material quality. Choose baby food makers constructed from food grade stainless steel or BPA free plastics. These materials are not just safe for food preparation but also easier to clean and sanitize.
Pro Tip: Always check for removable parts that can be thoroughly washed. Sanitization is critical when preparing baby food.
Cleanability is another crucial factor. According to Feeding Matters, maintaining strict food safety standards starts with equipment that can be easily cleaned. Look for smooth surfaces without complex crevices where bacteria might hide.
 Dishwasher safe components can save you significant time and ensure thorough cleaning.
Consider the machine footprint in your kitchen. A compact design that doesnt sacrifice functionality will serve you best. Remember you want an appliance that integrates smoothly into your existing kitchen workflow.
Next up: We will dive into specific features that transform a good baby food maker into a great one. Get ready to become a kitchen equipment expert.
Choosing the right baby food maker can feel like navigating a complex maze of kitchen gadgets. We will break down the essential features and types of baby food preparation tools to help you make an informed decision.
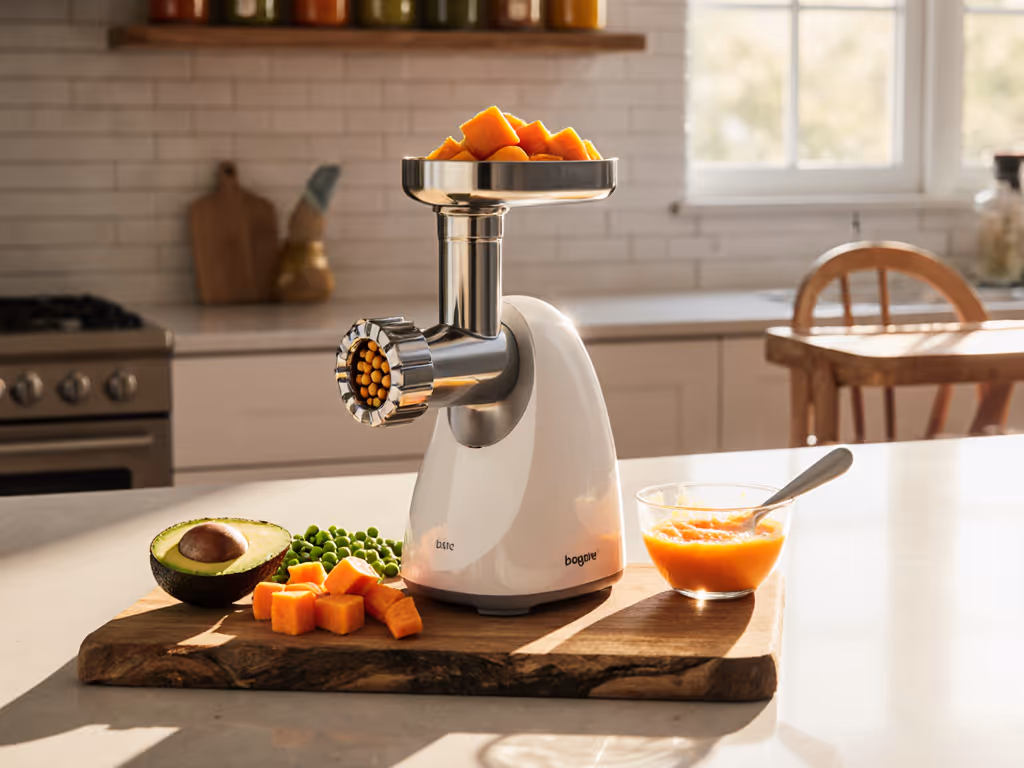
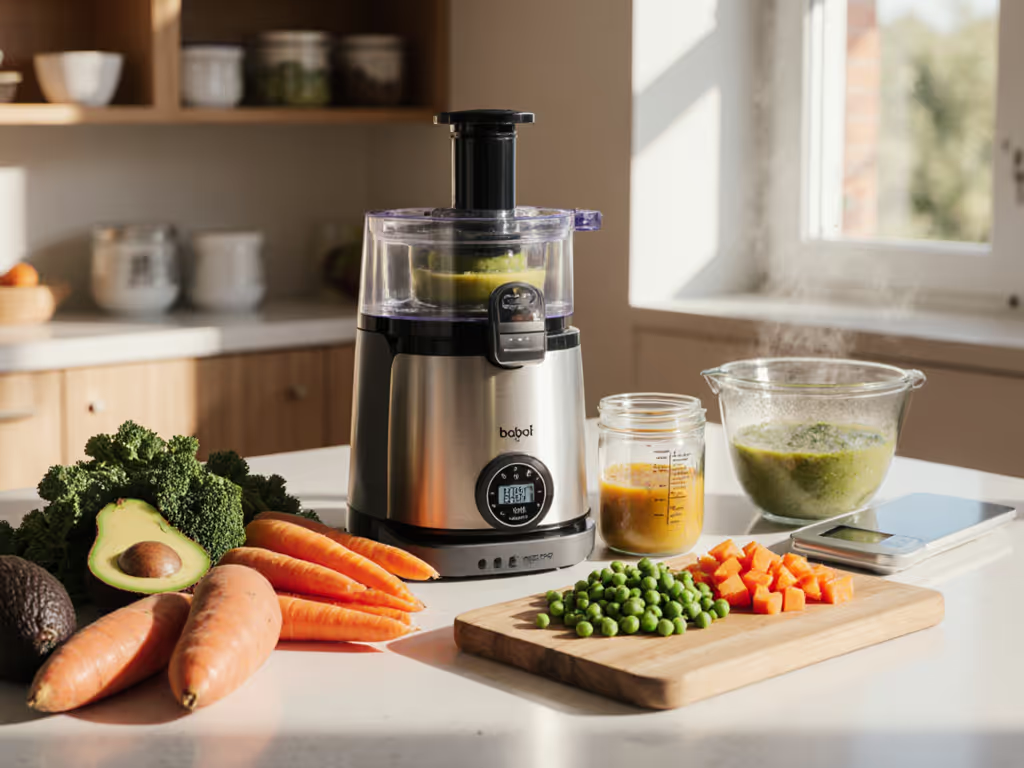
The University of Illinois Extension recommends exploring different equipment types carefully. You have several core options: traditional blenders, specialized baby food processors, all in one steamers with blending capabilities, and manual food grinders. Each comes with unique advantages depending on your specific needs.
Here's a comparison of common baby food maker types:
| Type | Main Functions | Pros | Cons |
|---|---|---|---|
| Blender | Puree blending | Versatile<br>Multi-use | Extra steps<br>Larger size |
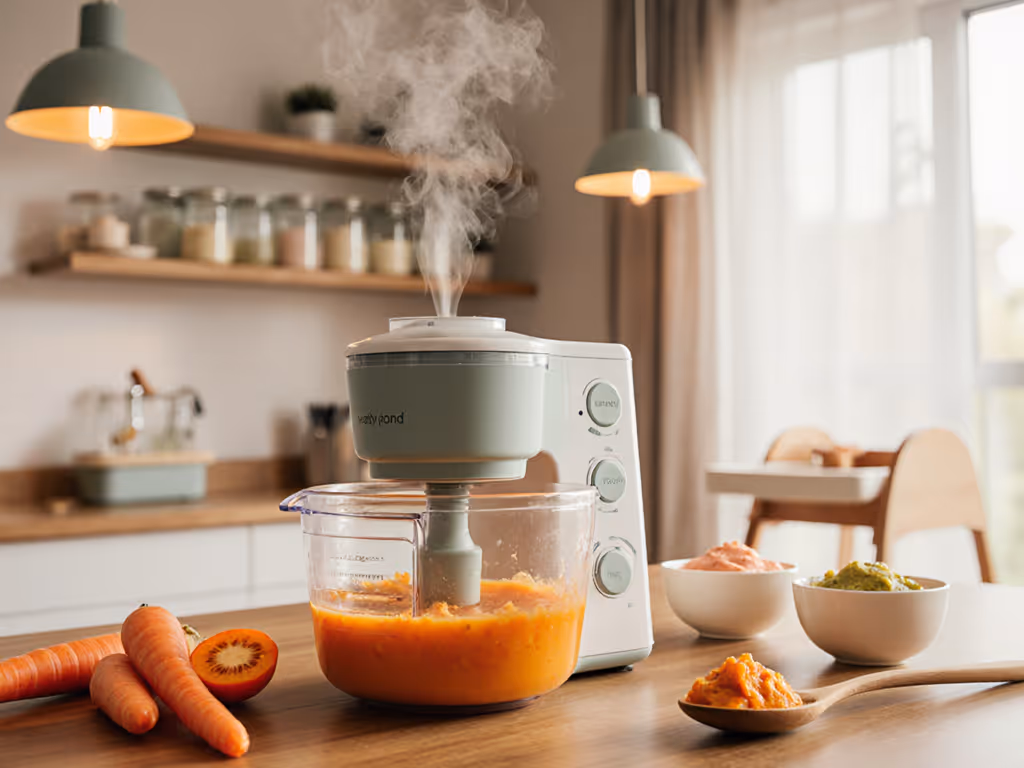
| Baby Food Processor | Steam & blend<br>Puree | Compact<br>All-in-one | Less versatile<br>Higher cost |
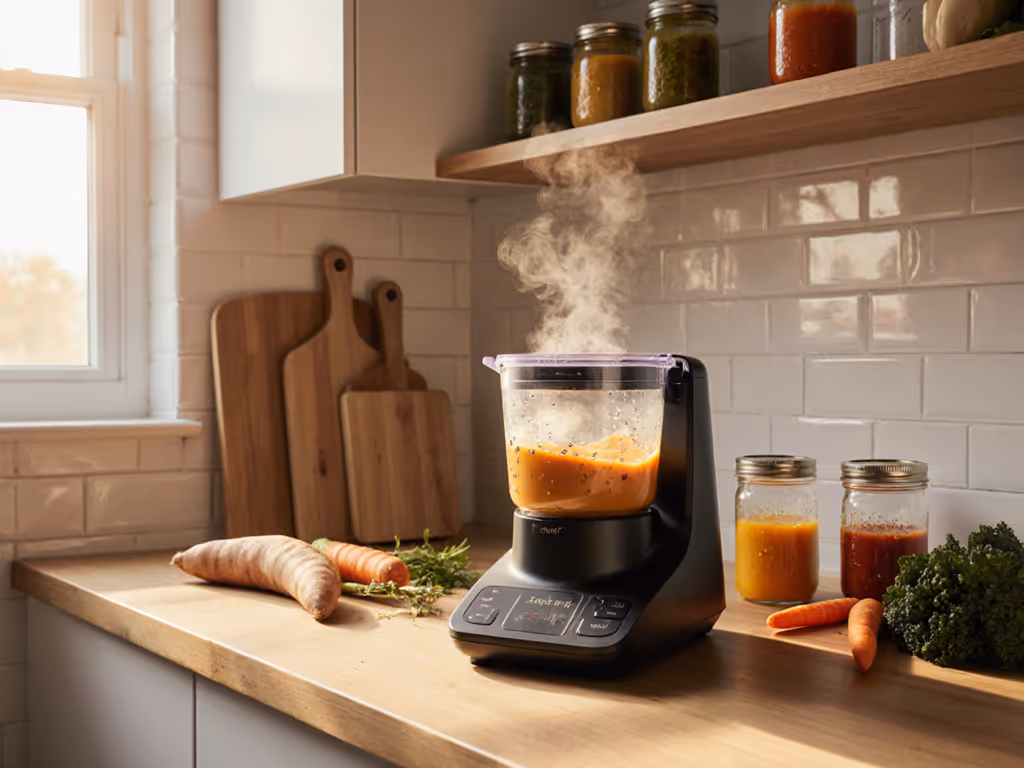
| All-in-One Steamer | Steam<br>Blend<br>Reheat | Minimal cleanup<br>Quick prep | Can be bulky<br>Limited use |
| Manual Food Grinder | Puree<br>Mash | Portable<br>No electricity | Labor-intensive<br>Limited texture range |
Blenders offer versatility but might require extra steps for baby food preparation. Specialized baby food makers typically include steaming and pureeing functions in one compact unit. This means less cleanup and more streamlined meal creation. The Minnesota Department of Health suggests prioritizing equipment that can handle multiple recipe textures from smooth purees to chunkier baby friendly meals.
Consider your long term usage. Some baby food makers grow with your child providing multiple function modes as your little one transitions from purees to more complex food textures. Look for systems that offer interchangeable blade attachments and multiple processing settings.
Pro Tip: Always check warranty information and replacement part availability. A good baby food maker is an investment in your childs nutritional journey.
Functionality matters more than fancy features. Prioritize machines with straightforward controls easy cleaning mechanisms and reliable performance. Think about your kitchen counter space power requirements and how frequently you plan to use the appliance.
Weight portability and storage potential. Parents with limited kitchen space will appreciate compact designs that can be easily stored when not in use. Some models even come with travel friendly containers for meal prepping on the go.
Next up: We will dive into specific recommendations that match different parenting styles and kitchen setups. Your perfect baby food maker is just around the corner.
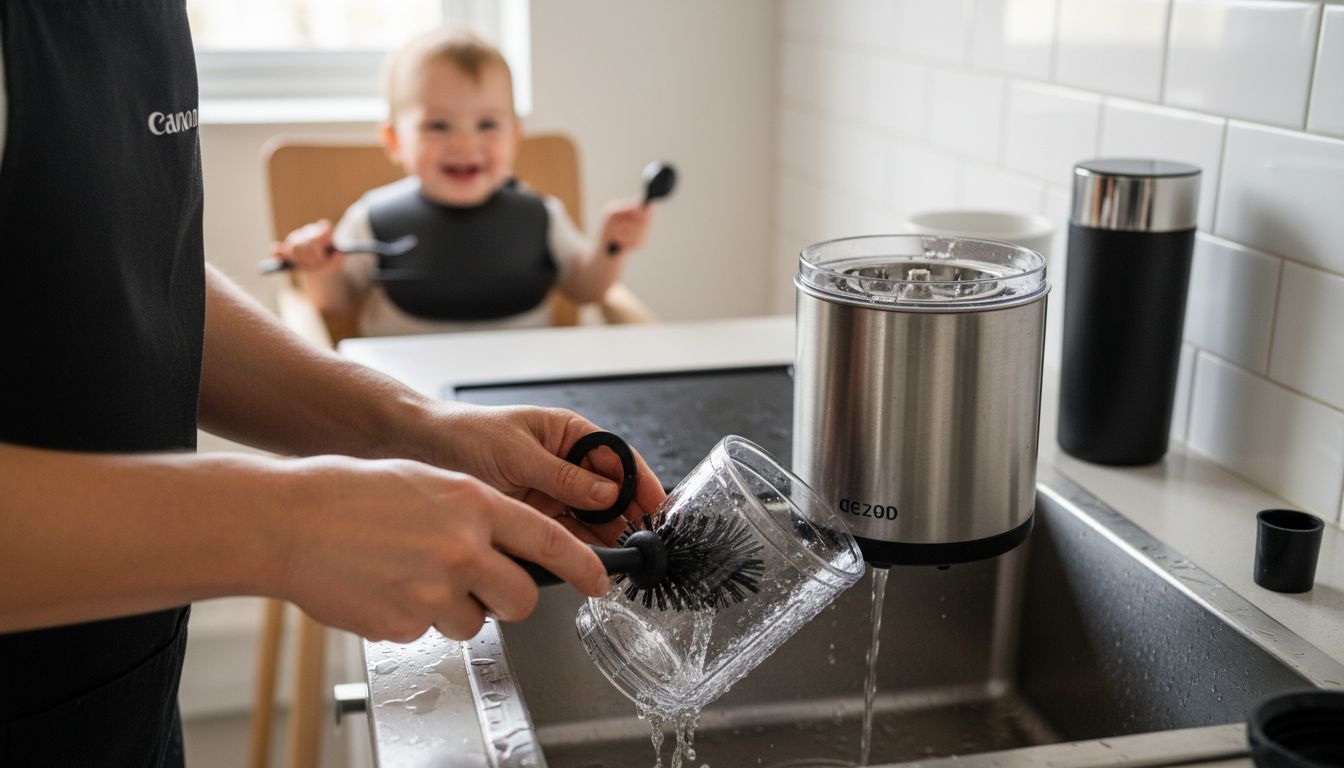
Let's talk about something every parent knows cleaning baby food equipment is not for the faint of heart. Your baby food maker needs to be as easy to clean as it is to use.
The Ohio State University recommends prioritizing equipment with fully removable parts that can go straight into the dishwasher. This means less time scrubbing and more time enjoying those precious moments with your little one. Look for models with components that are clearly labeled as dishwasher safe.
Pennsylvania State University Extension emphasizes the importance of smooth surfaces. Avoid baby food makers with complicated nooks and crannies where food particles can hide. Smooth interior surfaces make cleaning dramatically easier and reduce the risk of bacterial growth.
Consider the materials carefully. Stainless steel and high quality food grade plastics tend to be the most resistant to staining and odor retention. These materials also withstand repeated washing without degrading or losing their protective coating.
Pro Tip: Keep a bottle brush and mild unscented dish soap nearby for those hard to reach spots. Quick cleaning right after use prevents stubborn food residue from setting in.
Think about your actual cleaning routine. Some baby food makers come with specialized cleaning tools or steam cleaning functions that help sanitize components between uses. These features can be real time savers for busy parents.
Dont overlook assembly and disassembly ease. A great baby food maker should come apart and go back together without requiring an engineering degree. Simple intuitive design means you can clean thoroughly without frustration.
Next up: We will explore how to make your baby food maker a long lasting kitchen companion. Preparation meets practicality.
Time to play detective and determine how your new baby food maker will actually fit into your daily life. This step is about making sure your kitchen equipment works not just on paper but in real world conditions.
The University of Minnesota Extension emphasizes the critical importance of kitchen space compatibility. Start by measuring your available counter and storage areas. Not all baby food makers are created equal some are compact kitchen ninjas while others are bulky space hogs. Consider how the appliance will integrate with your existing kitchen layout.
The University of Illinois Extension suggests a practical approach to testing suitability. Create a mock trial run before fully committing. This means bringing the appliance home and doing a few test runs with different ingredients. Watch how it performs with various food textures soft fruits starchy vegetables lean proteins. Your goal is understanding its true functionality in your specific kitchen environment.

Pay attention to electrical requirements. Check the power outlet proximity and voltage compatibility. Some baby food makers have specific power needs that might require creative placement or additional extension cords.
Pro Tip: Always keep the original packaging and receipt during your initial testing period. This gives you flexibility if the appliance doesnt meet your specific needs.
Consider noise levels and operational timing. Will this machine wake a sleeping baby? Can you operate it during naptime or early morning meal prep? These practical considerations matter more than fancy marketing promises.
Think about long term usability. A great baby food maker should grow with your familys changing nutritional needs. Look for models with multiple function settings that can adapt as your baby transitions from purees to more complex food textures.
Next up: We will explore how to make your investment truly worthwhile. Your journey to becoming a baby food preparation expert continues.
You have come a long way in your baby food maker selection journey. Now its time to make the final decision that will transform your kitchen and feeding routine.
The Minnesota Department of Health recommends creating a comprehensive checklist of must have features before making your final selection. Consider your absolute non negotiable requirements like noise levels safety features and cleaning ease. Some parents prioritize steaming capabilities while others focus on compact design.
Pennsylvania State University Extension emphasizes the importance of versatility. Your chosen equipment should support multiple food preparation stages. Look for systems that can handle everything from smooth newborn purees to chunkier toddler friendly meals. This adaptability ensures your investment grows alongside your childs nutritional needs.
Review your initial assessment criteria. Does the baby food maker tick all the boxes you established in earlier steps? Compare your top two or three options side by side. Sometimes small details make a significant difference in daily usability.
Pro Tip: If possible borrow or test a friends baby food maker before purchasing. Personal experience trumps marketing promises every single time.
Consider long term value. A slightly more expensive machine with better durability might save you money compared to replacing cheaper models frequently. Think about warranty coverage replacement part availability and customer support.
Trust your parental instincts. Technical specifications are important but so is how comfortable you feel using the equipment. If a particular baby food maker just feels right thats a valid consideration too.
Next up: You are ready to become a baby food preparation pro. Congratulations on navigating this complex selection process with confidence and care.
Choosing the right baby food equipment is about more than just the appliance itself. The challenge lies in balancing quiet operation, safety, and easy cleaning while supporting your baby’s nutritional journey through every stage. This guide highlights key concerns like noisy machines disrupting nap times and complicated gadgets that make cleanup a chore. At Parent Kitchen Lab, we understand these pain points and offer expert insights tailored to help smart parents like you.
Explore detailed reviews and thoughtful comparisons focused on quiet operation, one-handed ease of use, and non-toxic, safe materials. Don't let overwhelming choices hold you back from providing healthy meals efficiently. Visit Parent Kitchen Lab to discover the best baby food makers that fit your lifestyle and kitchen setup. Ready to make meal prep simpler? Start your search now and gain confidence in every feeding with trusted advice on baby food maker reviews and guides designed for busy parents.
Make your baby food preparation smooth and stress-free. Take the next step with Parent Kitchen Lab today.
To assess your baby food preparation needs, evaluate your baby's developmental stage, daily routine, and nutritional goals. For instance, check if your baby is ready for solids and how much time you can dedicate to meal prep.
Prioritize a baby food maker that operates at low noise levels and incorporates safety features like stable bases and secure blade attachments. Check for appliances that are labeled as quiet to ensure they won't disrupt naptime.
When comparing baby food makers, evaluate their main functions, pros, and cons across different types, such as blenders, baby food processors, and all-in-one steamers. Create a list of essential features and consider how each option meets your specific cooking needs.
Look for baby food makers with removable, dishwasher-safe parts and smooth surfaces that are easy to clean. This can save you significant time on maintenance, allowing you to focus more on enjoying time with your baby.
Before making a purchase, measure your available counter and storage space and try a mock trial run of the appliance if possible. This ensures that the baby food maker operates well in your specific kitchen setup.
Create a checklist that includes must-have features like noise level, safety, cleaning ease, and versatility. Use this list to evaluate your top options side by side to ensure they meet your family's needs as your baby grows.