Pediatrician Recommended Baby Food Prep: Step-by-Step Guide
12th Nov•10 min read
Nearly 90 percent of parents report feeling nervous when setting up a new baby food maker for the first time. The unpacking process might seem simple but missing even one small part can lead to frustration or safety issues. Proper setup is the foundation for preparing healthy, homemade meals your baby will love. This easy-to-follow guide walks you through every step to ensure your machine is ready for safe, smooth operation from day one.
| Key Point | Explanation |
|---|---|
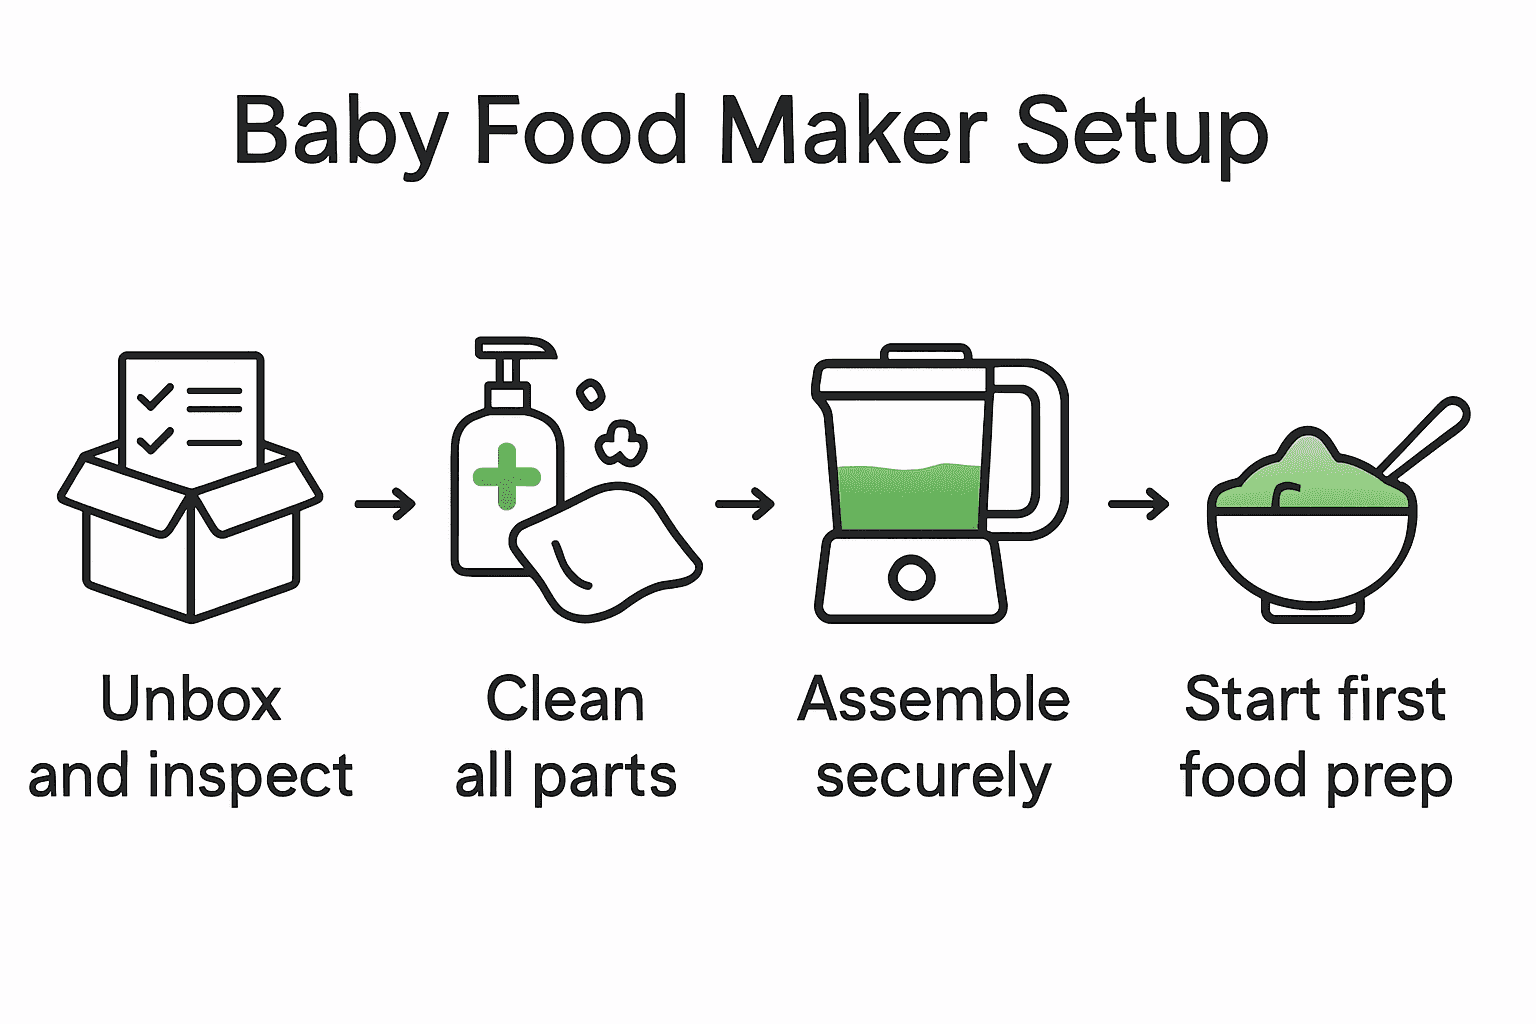
| 1. Inspect all components first | Check for damage and completeness before use to ensure smooth operation and safety during food preparation. |
| 2. Clean all parts thoroughly | Washing components with warm, soapy water prevents residue contamination and ensures a hygienic cooking environment for your baby. |
| 3. Assemble parts securely | Ensure that each component fits tightly, following the user manual to avoid malfunction and promote safe use. |
| 4. Conduct a water test run | Running the machine with water only helps verify its functionality and identifies potential issues before actual food preparation. |
| 5. Start with simple single-ingredient purees | Experimenting with basic recipes helps build confidence and familiarity with the baby food maker's operation while ensuring safety for your baby. |
Welcome to the first step of setting up your baby food maker. This stage is crucial because carefully unboxing and inspecting your appliance ensures you have everything needed for safe and efficient food preparation. Before diving into meal prep, you will systematically check each component and verify its condition.
Start by clearing a clean, well-lit workspace where you can spread out all the components without interruption. Gently open the packaging and carefully remove the baby food maker and its accessories. Pull out the user manual first and set it aside for reference. Then, methodically remove each component one by one. You will want to confirm the presence of key parts including the stirring cup, various lids, blade assembly, and main unit. Check that no pieces appear damaged or have visible manufacturing defects.
One pro tip: As you unpack, create a small staging area and place each component in its own section. This helps you track everything and prevents accidentally misplacing smaller parts. Compare the contents against the manual's parts list to ensure complete delivery. If anything seems missing or damaged, contact the manufacturer immediately for replacement or support.
With inspection complete, you are now ready to move on to cleaning and preparing your baby food maker for its first use.
Before assembling your new baby food maker, you will want to thoroughly clean every component to ensure a hygienic food preparation environment. This initial cleaning removes any manufacturing residues and prepares your appliance for its first use with your little one.
Start by gathering warm water, mild unscented dish soap, and a soft clean cloth. Carefully separate all removable parts including the stirring cup, blade components, and various lids. Wash each piece individually using gentle soap and lukewarm water, taking care to clean every surface and crevice. For the stirring cup and other removable parts, use a soft cloth or sponge to wipe them down thoroughly. Pay special attention to areas where food might potentially collect, such as blade edges and lid seams.
One critical warning: Never place the stirring cup in the dishwasher. High temperatures can cause deformation and compromise the part's integrity. After washing, rinse each component completely with clean water to remove all soap residue.
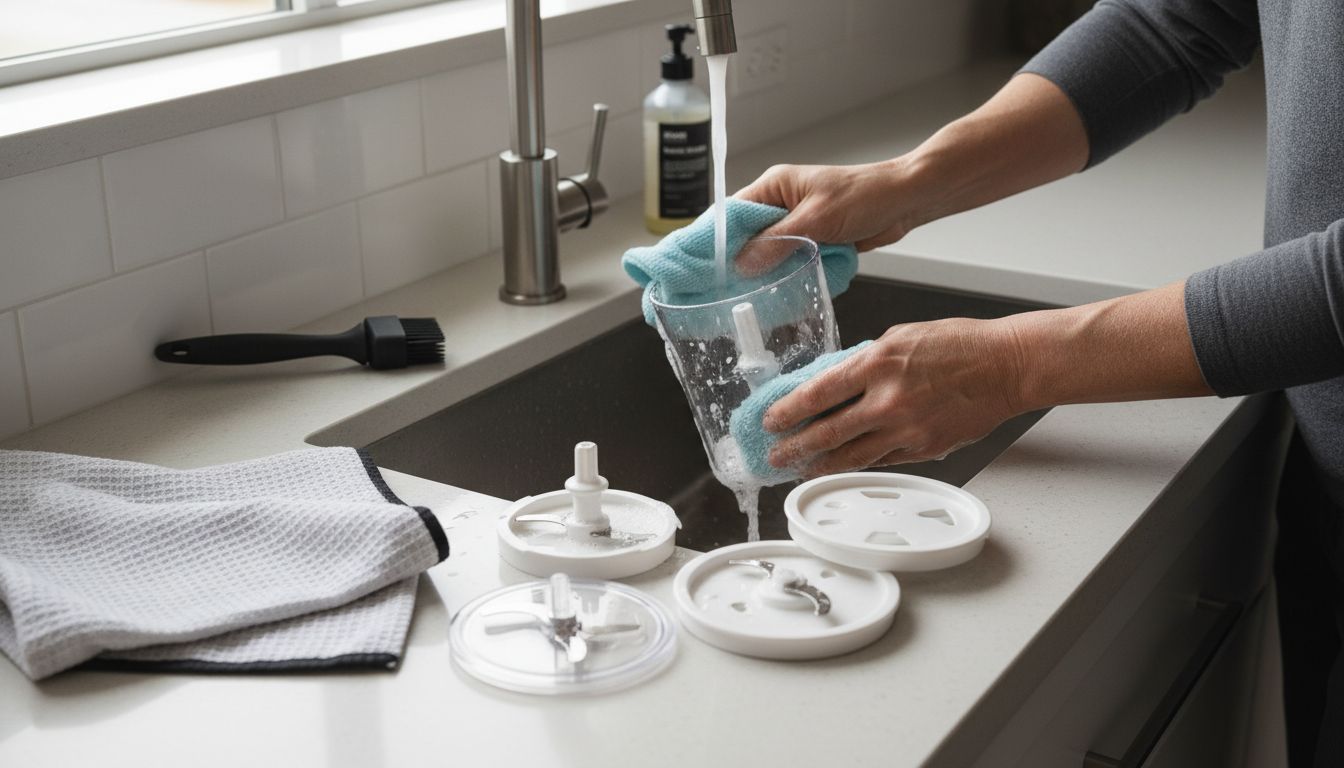 Then lay the parts out on a clean towel to air dry completely before reassembling. Once dry, you will be ready to start preparing nutritious meals for your baby.
With cleaning complete, you are now prepared to move forward with assembling your baby food maker.
With your baby food maker cleaned and ready, the next critical phase is assembling its key components with precision and care. This step ensures your appliance operates safely and efficiently for preparing nutritious meals for your little one.
Begin by placing the inner bowl into the main unit carefully. Make sure the bowl sits perfectly aligned with the base, creating a stable foundation. Next, carefully insert the blade unit into its designated position. Gently press down to confirm it is securely attached and sits flush within the inner bowl. Each component should feel snug and stable without any wobbling or loose connections. Take your time during this process and double check each part feels correctly positioned before moving forward.
One important tip to remember is to always follow your specific model's instruction manual. While most baby food makers have similar assembly steps, subtle variations exist between brands and models. Visually confirm that each piece looks correctly positioned and feels locked into place. If anything seems misaligned or does not feel secure, take a moment to readjust. Proper assembly is not just about convenience but also ensures safe operation and prevents potential malfunction during food preparation.
With components now securely assembled, you are ready to move on to the next exciting stage of preparing delicious homemade baby food.
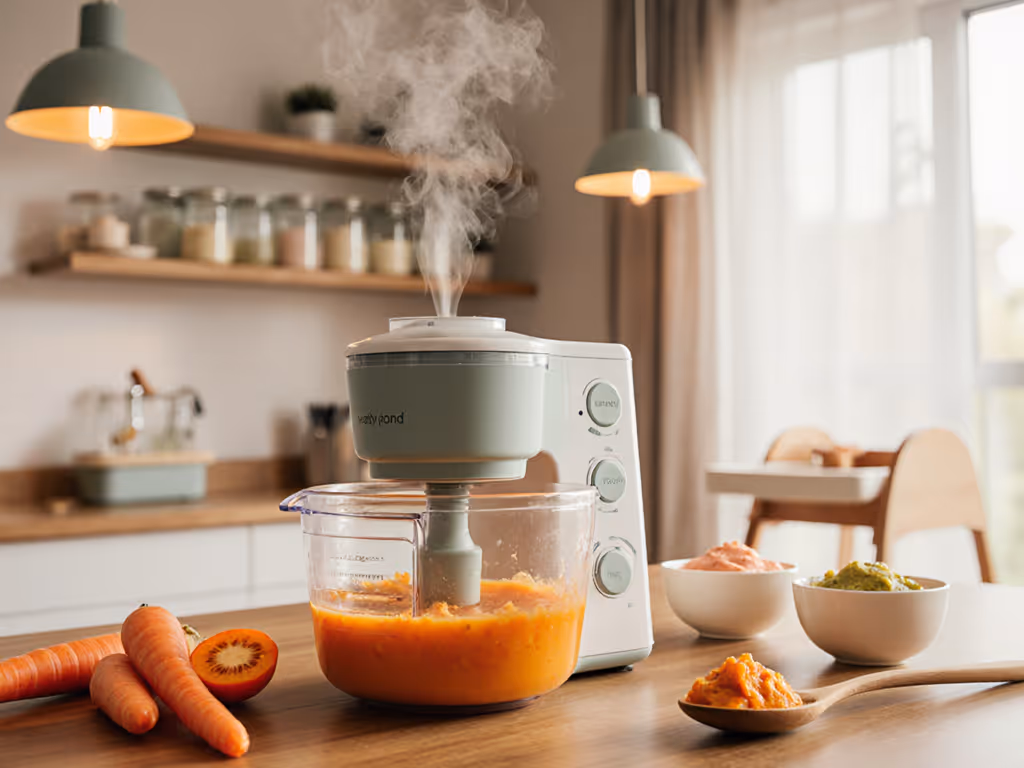
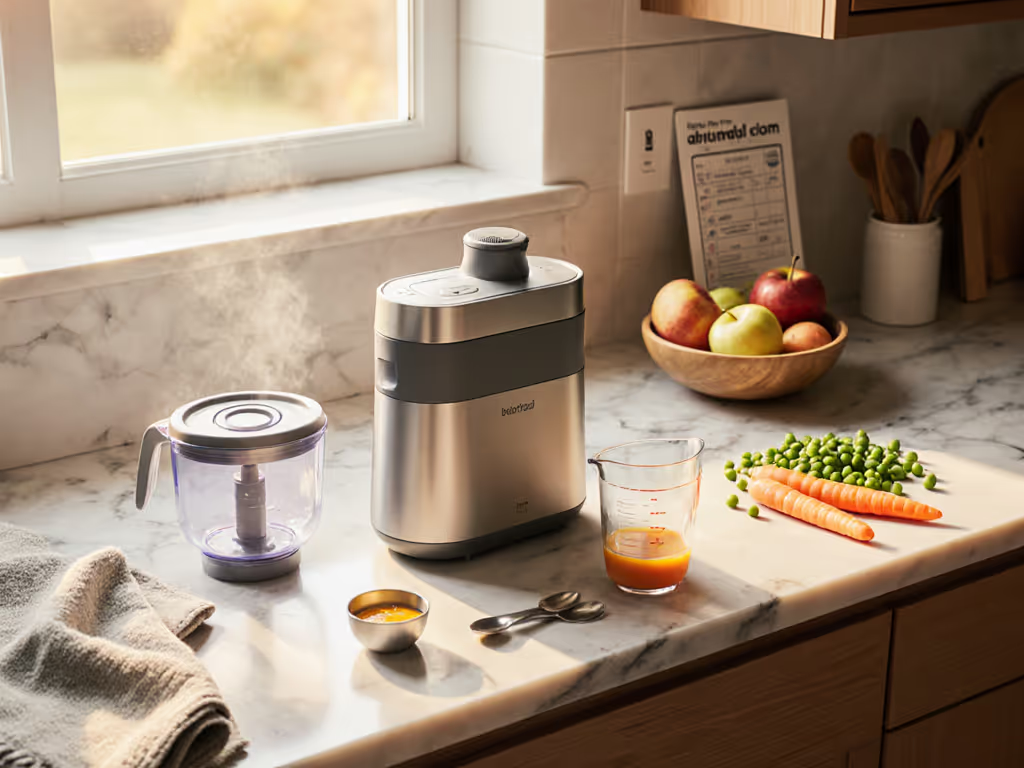
Before preparing your first batch of baby food, you will want to run a preliminary test of your baby food maker using only water. This initial test helps ensure all components function correctly and allows you to familiarize yourself with the appliance's operation without risking food waste.
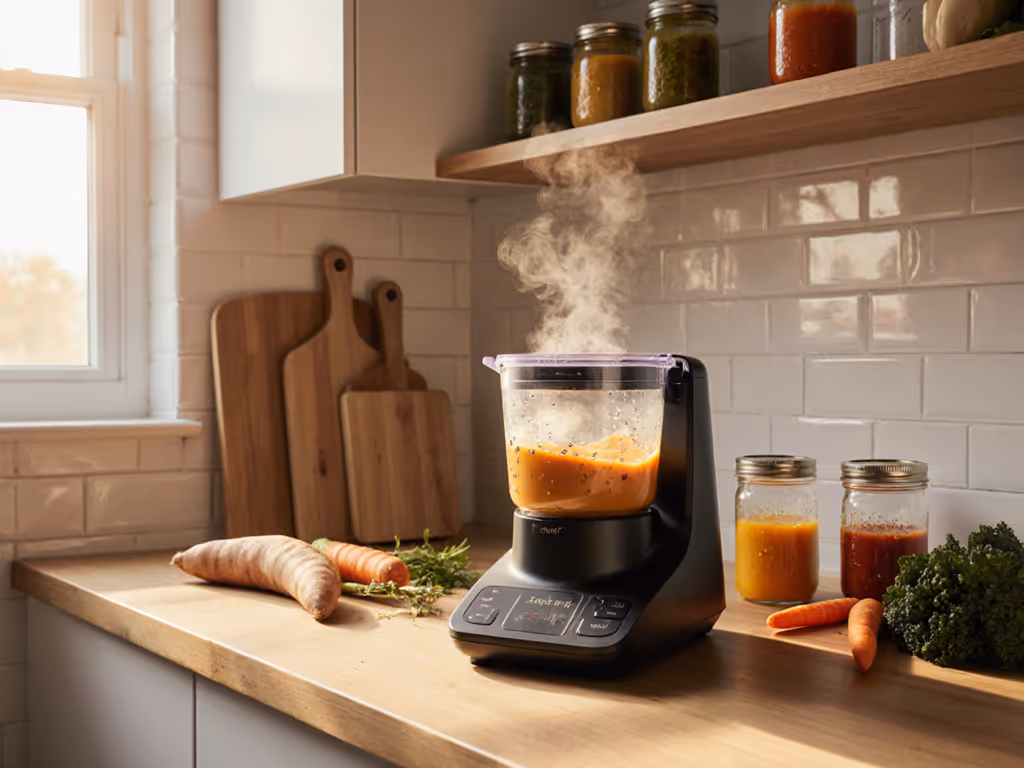
Fill the inner bowl with clean room temperature water up to the recommended maximum line. Close the lid securely and select the appropriate function typically steam or blend. Run the cycle completely, paying close attention to how the machine operates. Listen for any unusual sounds and watch how smoothly the components move. Observe whether the water heats evenly and the blade rotates without obstruction. This test run will help you understand the machine's baseline performance and identify any potential issues before introducing actual ingredients.
Pro tip: If you notice any vinegar residue from the initial cleaning process, you can perform a quick descaling. Mix 20ml of white vinegar with 40ml of water in the water tank and run the steam function for about 30 minutes. Afterward, rinse the tank thoroughly twice with clean water to remove any remaining solution. This extra step ensures your baby food maker is completely clean and ready for its first real use.
With your test complete and the unit functioning smoothly, you are now prepared to start preparing nutritious homemade meals for your baby.
With your baby food maker thoroughly tested and ready, you are now prepared to create your first batch of homemade baby food. This exciting moment marks the beginning of preparing fresh nutritious meals tailored specifically for your little one.
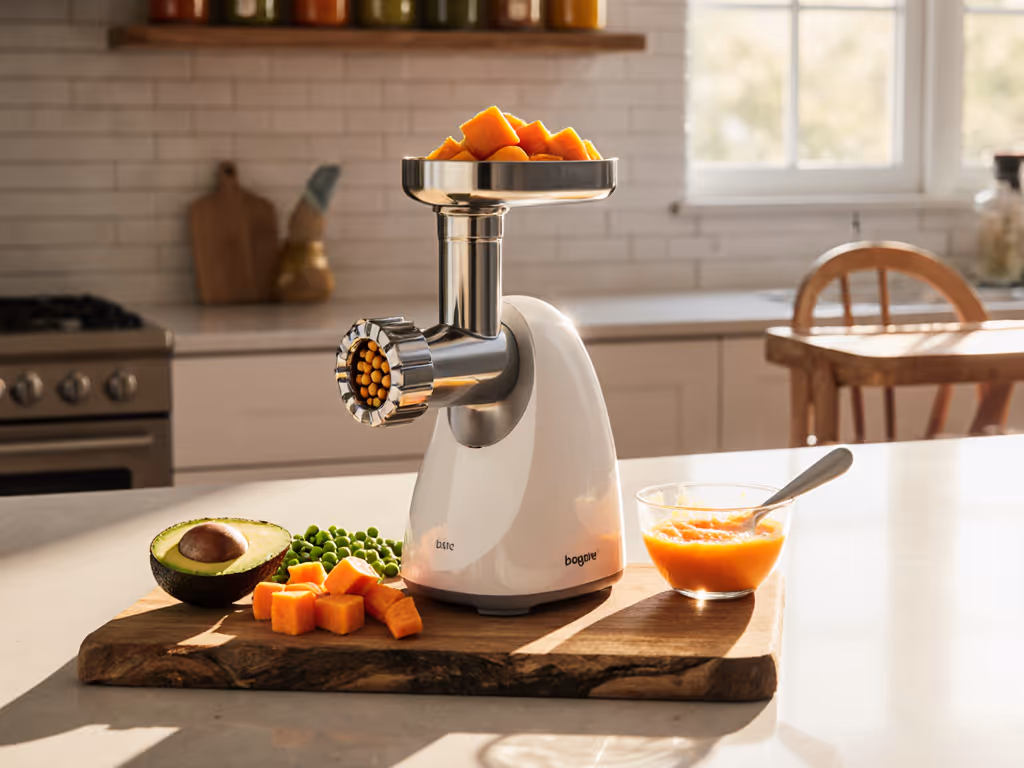
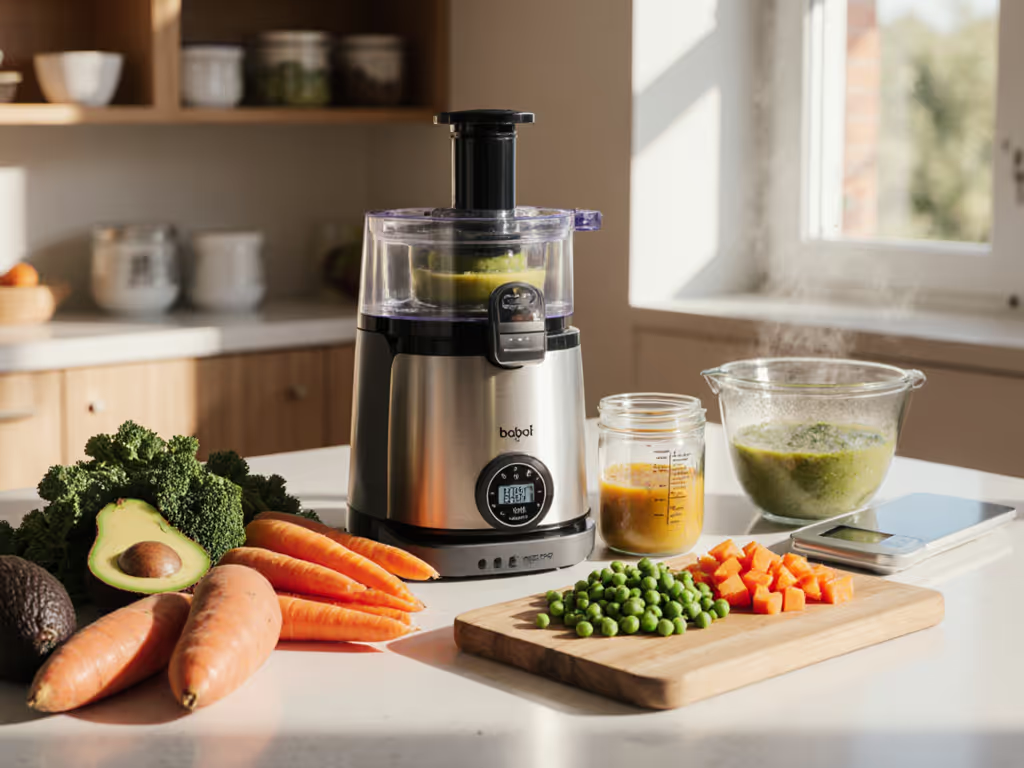
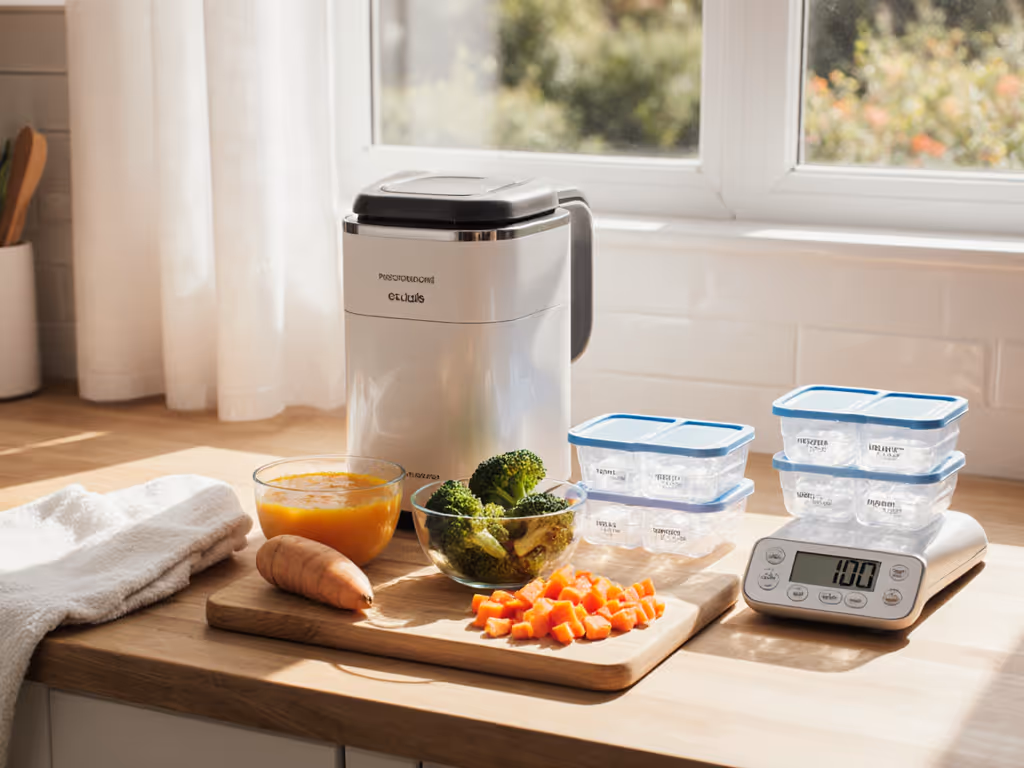
Start by selecting fresh high quality ingredients appropriate for your baby's age and developmental stage. Thoroughly wash and peel produce as needed. Cut ingredients into small uniform pieces that will steam and blend easily. Carefully measure and add ingredients into the stirring cup up to the recommended maximum fill line. Next add the appropriate amount of water to the tank based on your recipe or machine instructions. Close the lid securely and select the specific function you need such as steam or blend depending on the type of food and desired consistency.
One important tip to remember is to always refer to your specific baby food maker's user manual for precise instructions. Cooking times and water requirements can vary between different models and ingredients. Start with simple single ingredient purees like steamed carrots or sweet potatoes to get comfortable with the process. After cooking is complete allow the food to cool slightly before serving or storing. Make sure to taste test the texture and temperature to ensure it is safe and appealing for your baby.
With your first batch of homemade baby food prepared you are now ready to nourish your little one with fresh nutritious meals made with love.
Setting up your baby food maker can feel overwhelming with all the parts to inspect, clean, and securely assemble. This article guides you through each step from unboxing to the first test run so you avoid common pitfalls like missing pieces or improper assembly. If you want a quiet, efficient, and easy-to-clean appliance that fits your busy parenting routine, understanding these setup essentials is key.
Take the next step in making homemade baby food prep easier by exploring trusted reviews and expert comparisons at Parent Kitchen Lab. Discover models that are designed to operate silently during naptime while offering one-handed convenience and non-toxic safety. Don't spend extra hours guessing which appliance suits your needs when our detailed guides on baby food makers provide everything you need to decide now. Start creating wholesome meals your baby will love with confidence and efficiency today.
Carefully open the packaging and remove the baby food maker along with its accessories. Inspect each component, including the stirring cup and blade assembly, ensuring that everything is present and undamaged before moving forward.
Thoroughly wash all removable parts with soap and lukewarm water, using a soft cloth to clean every surface. Avoid putting the stirring cup in the dishwasher, and ensure all parts are air-dried completely before assembling them.
Start by placing the inner bowl into the main unit and then inserting the blade unit. Make sure each component is snugly fit and stable, and refer to your user manual for any specific assembly instructions related to your model.
Fill the inner bowl with room temperature water up to the maximum line and run a steam or blend cycle. Watch for any unusual sounds or issues during operation, ensuring everything functions smoothly before using real ingredients.
Select fresh ingredients appropriate for your baby’s age, wash and prepare them by cutting into small pieces. Measure and add the ingredients and water, then choose the correct function on the baby food maker, and follow your model’s specific cooking times.
Begin with simple single-ingredient purees like steamed carrots or sweet potatoes to familiarize yourself with the process. Aim for textures that are safe and appealing for your baby, and taste test to ensure they meet your baby's needs.