Pediatrician Recommended Baby Food Prep: Step-by-Step Guide
12th Nov•10 min read
Did you know that over 90 percent of parents worry about baby food safety at home? Preparing your little one's meals isn't just about cooking, it's about creating a healthy foundation from the start. An organized process lets you avoid hidden hazards and give your baby fresh, nourishing food every day. Find out how small changes in preparation can make a big impact on your child's health and mealtime routine.
| Key Point | Explanation |
|---|---|
| 1. Create a Clean Prep Space | A dedicated, sanitized workspace is essential to prevent contamination when preparing baby food. |
| 2. Choose a Quiet Baby Food Maker | Opt for baby food makers operating under 50 decibels to avoid disrupting your baby’s sleep. |
| 3. Use Fresh, Organic Ingredients | Selecting high-quality, organic produce minimizes pesticide exposure and enhances nutritional value. |
| 4. Batch Cook for Efficiency | Prepare multiple meals at once and store them properly to save time and ensure variety. |
| 5. Ensure Safe Meal Textures | Progress food textures as your baby grows, avoiding choking hazards and promoting skill development. |
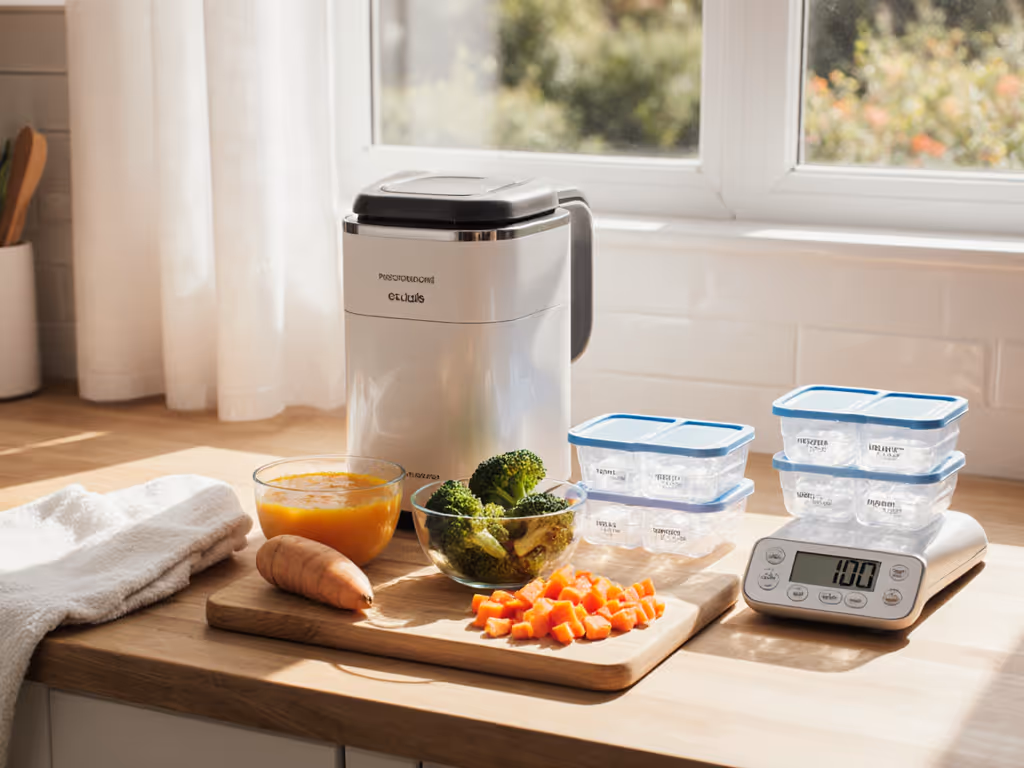
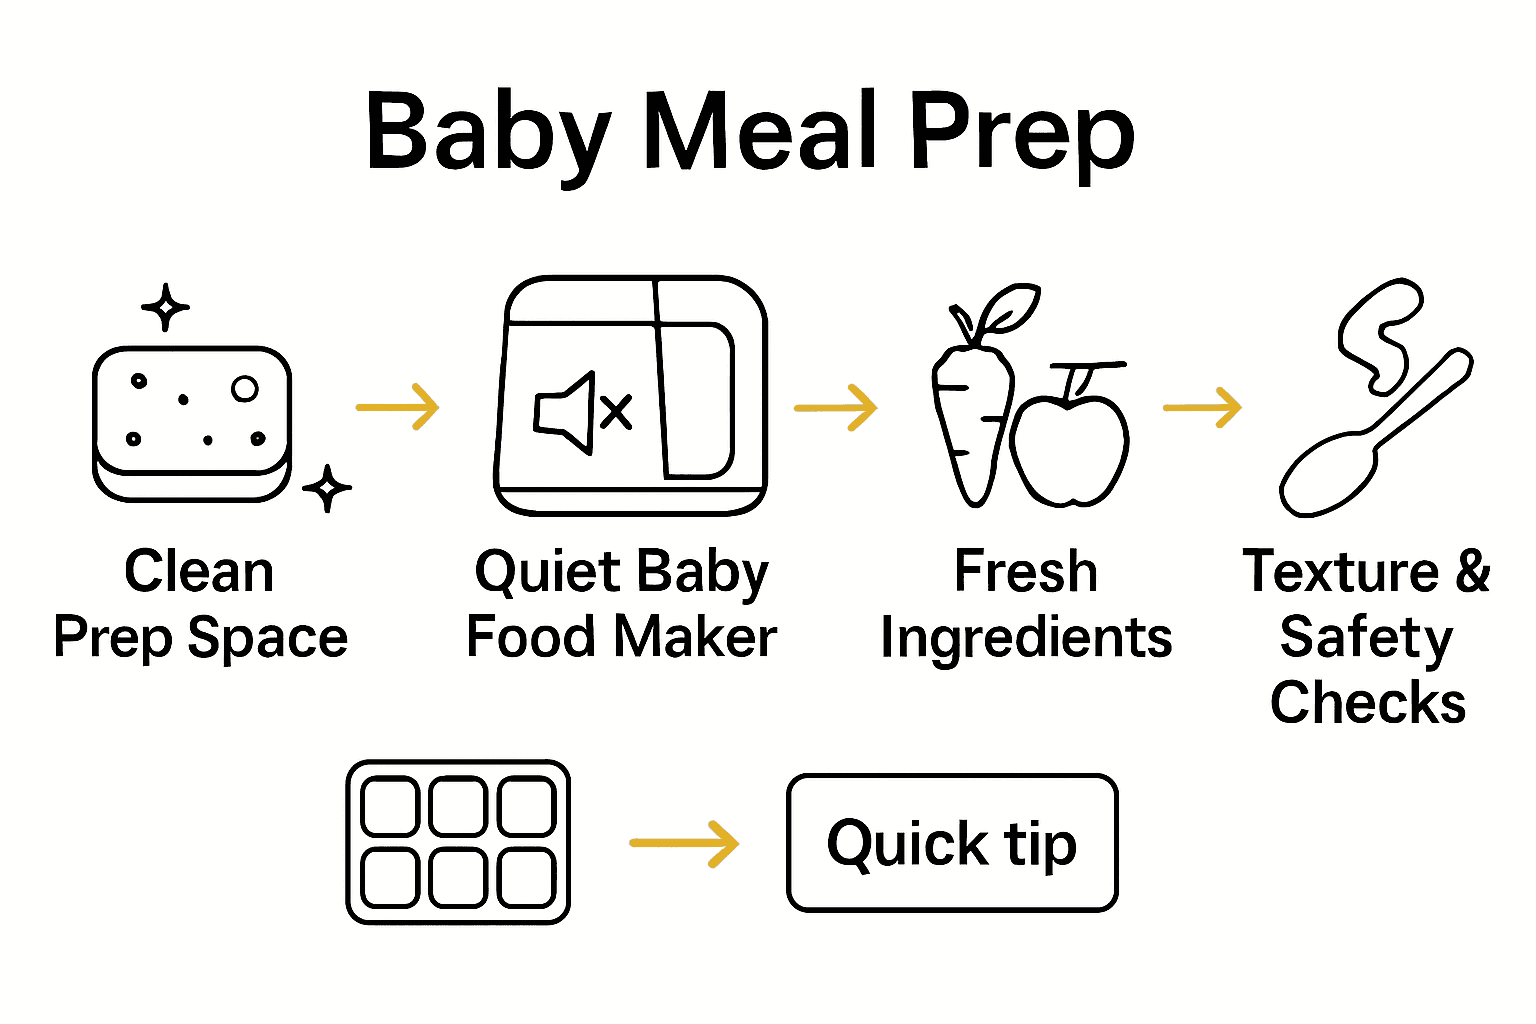
When preparing baby meals, your workspace becomes the foundation of safe and efficient cooking. Creating a clean and organized prep area isn't just about tidiness—it's about protecting your little one's health and making the entire meal preparation process smoother.
Start by choosing a dedicated workspace in your kitchen with plenty of clear counter space. This area should be away from high traffic zones and potential contamination sources like raw meat preparation areas. Gather all your tools beforehand: cutting boards, steamer baskets, blenders, storage containers, and cleaning supplies. Pro tip: use different colored cutting boards for raw and cooked foods to prevent cross contamination.
Thoroughly wash your hands with hot soapy water for at least 20 seconds before beginning. This simple step significantly reduces potential bacterial transfer. Next, sanitize all work surfaces using food safe disinfectant or a solution of one tablespoon unscented chlorine bleach per gallon of water. Allow surfaces to air dry completely.
Warning: Never use the same cutting surface for raw meats and baby food preparation without thorough washing and sanitizing between uses.
Arrange your tools in a logical workflow. Place clean cutting boards near your preparation area, keep storage containers nearby, and have trash and compost bins within easy reach. This setup minimizes unnecessary movement and reduces the chance of accidentally contaminating surfaces.
Here's a summary of common baby food prep tools and their functions:
| Tool | Primary Function | Cleaning Notes |
|---|---|---|
| Cutting Board | Chop fruits, veggies, meats | Use separate boards; sanitize |
| Steamer Basket | Steam cook ingredients | Dishwasher safe |
| Blender/Food Maker | Puree and blend food | Wash blades, jar, lid |
| Storage Containers | Store portions safely | Use BPA free; sanitize often |
| Cleaning Supplies | Surface and tool sanitation | Food safe disinfectant |
By establishing a clean and organized prep space, you're setting yourself up for efficient and safe baby meal creation. Your next step will be selecting and preparing your ingredients with the same careful approach.
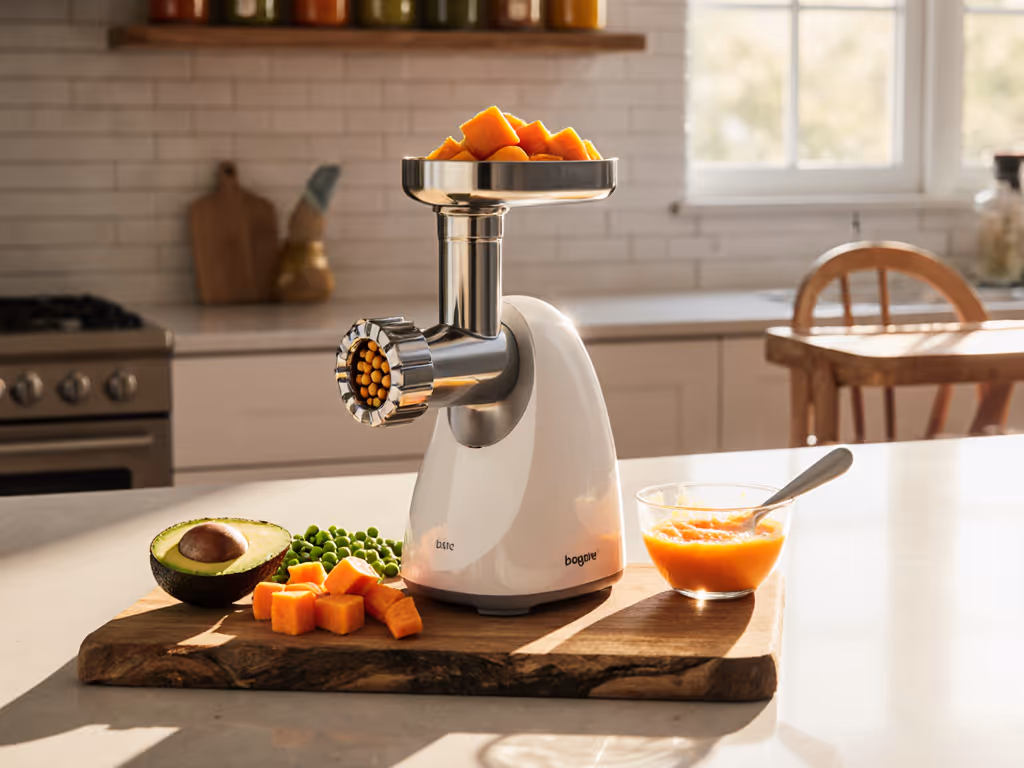
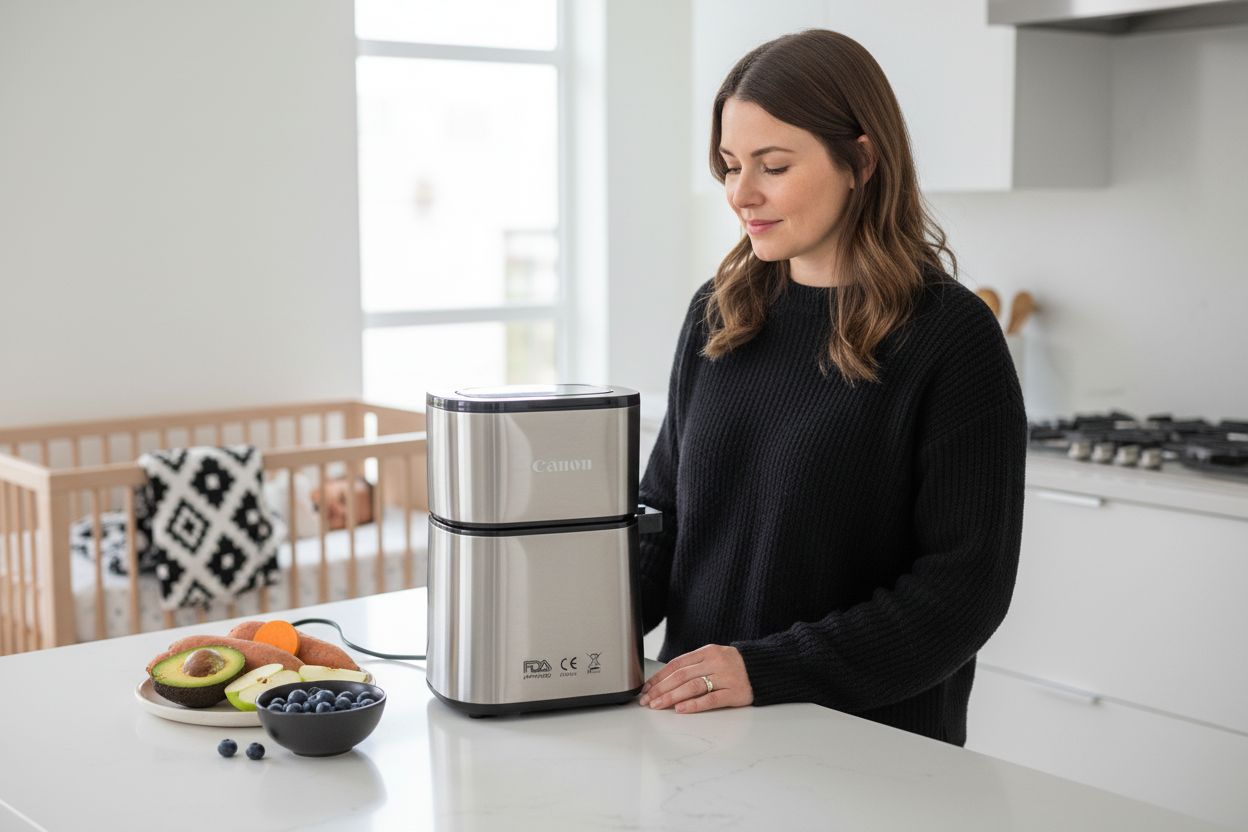
Choosing the right baby food maker can transform your meal preparation from a noisy, complicated process to a smooth and peaceful experience. Your goal is finding an appliance that not only prepares nutritious meals but also respects your baby's sleep schedule and overall safety.
Look for European designed baby food makers that prioritize both functionality and tranquility. These specialized machines typically operate below 50 decibels—quieter than a normal conversation—ensuring you won't disturb your little one's precious naptime. Focus on models constructed from glass or high grade stainless steel, which eliminate concerns about plastic leaching and provide more durable cooking surfaces.
Key features to prioritize include one step steam and puree functions that simplify meal preparation. Seek out appliances with programmable timers that allow you to prep meals in advance and dishwasher safe components for quick cleanup. Safety certifications matter significantly. Verify the machine carries FDA, CE, and LFGB approvals and prominently displays BPA free labels.
Pro Tip: Test the noise level before purchasing by requesting a store demonstration or reading detailed customer reviews about operational sound.
Consider the versatility of the machine. The best baby food makers will grow with your child's nutritional needs. Look for models that can steam vegetables, blend fruits, reheat prepared meals, and potentially defrost frozen portions. This adaptability ensures your investment remains useful throughout your baby's early eating stages.
With the right baby food maker selected, you're now prepared to move forward into ingredient selection and precise meal preparation for your little one.
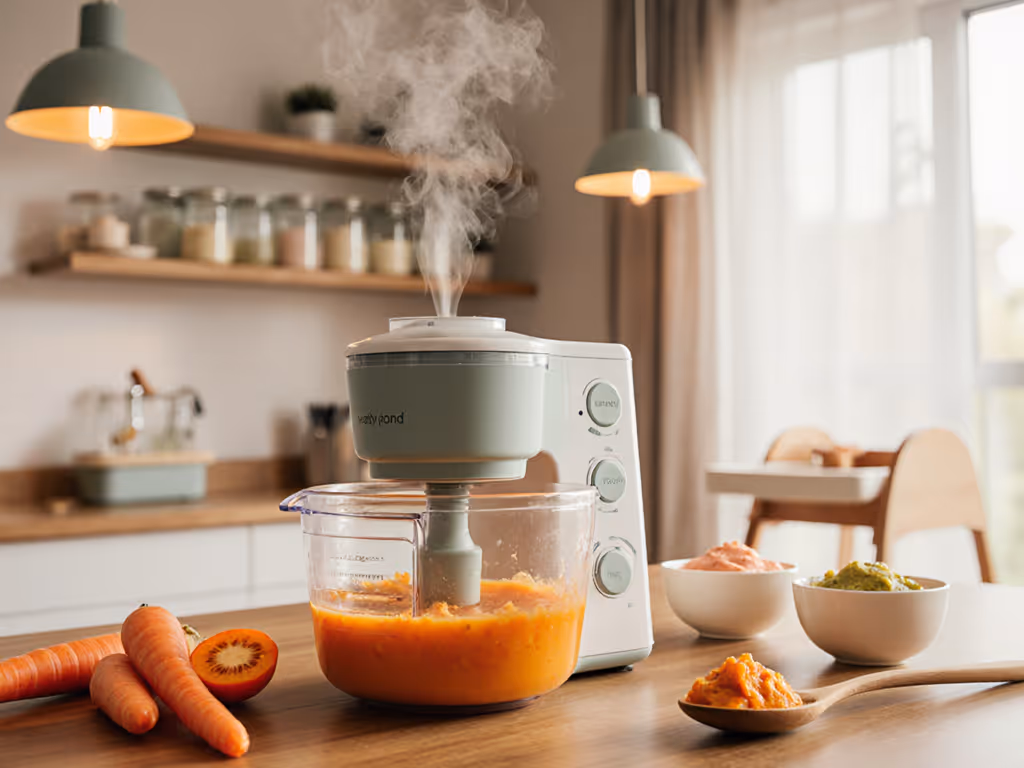
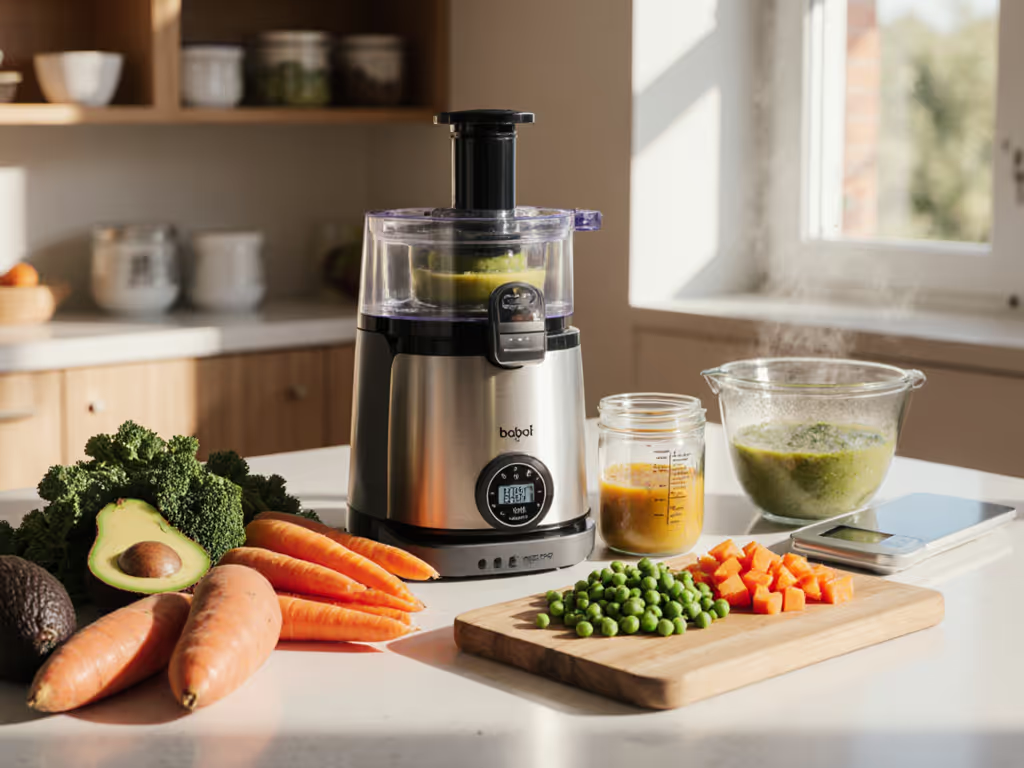
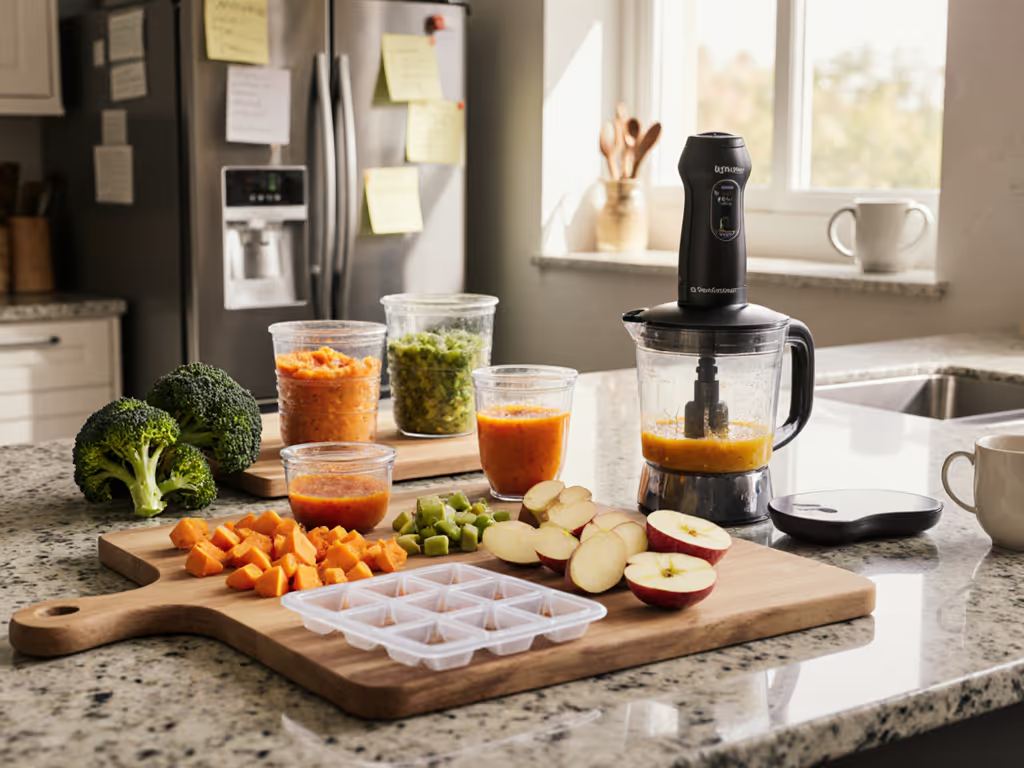
Preparing baby food is an art of transforming fresh ingredients into nutritious meals that support your little one's growth and development. Your mission is to create smooth, safe, and delicious purees that introduce your baby to new flavors and textures.
Start by selecting high quality fresh fruits and vegetables. Organic produce works best to minimize exposure to pesticides. Wash all ingredients thoroughly under running water to remove potential contaminants. For harder produce like carrots or sweet potatoes, peel the skin to eliminate any residual dirt or chemicals. Soft fruits like bananas or ripe avocados can be used with minimal preparation.
Cooking methods matter significantly. Steaming emerges as the top recommendation for preserving nutrients and creating soft textures ideal for baby food. Boiling or roasting work well too. Avoid adding salt, sugar, or extra fats during cooking. For proteins like chicken or fish, ensure you cook to safe internal temperatures. A food thermometer becomes your best friend in this process.
Pro Tip: Always start with single ingredient purees to help identify any potential food allergies or sensitivities.
Progression is key in baby food texture. Begin with completely smooth purees for younger babies. As your child grows and develops better motor skills, gradually introduce slightly chunkier textures. Use breast milk, formula, or water to thin out purees and achieve the perfect consistency. Remember that each baby develops differently so pay attention to your child's comfort and readiness.
With your ingredients prepared and pureed, you are now ready to portion and store your homemade baby meals safely and efficiently.
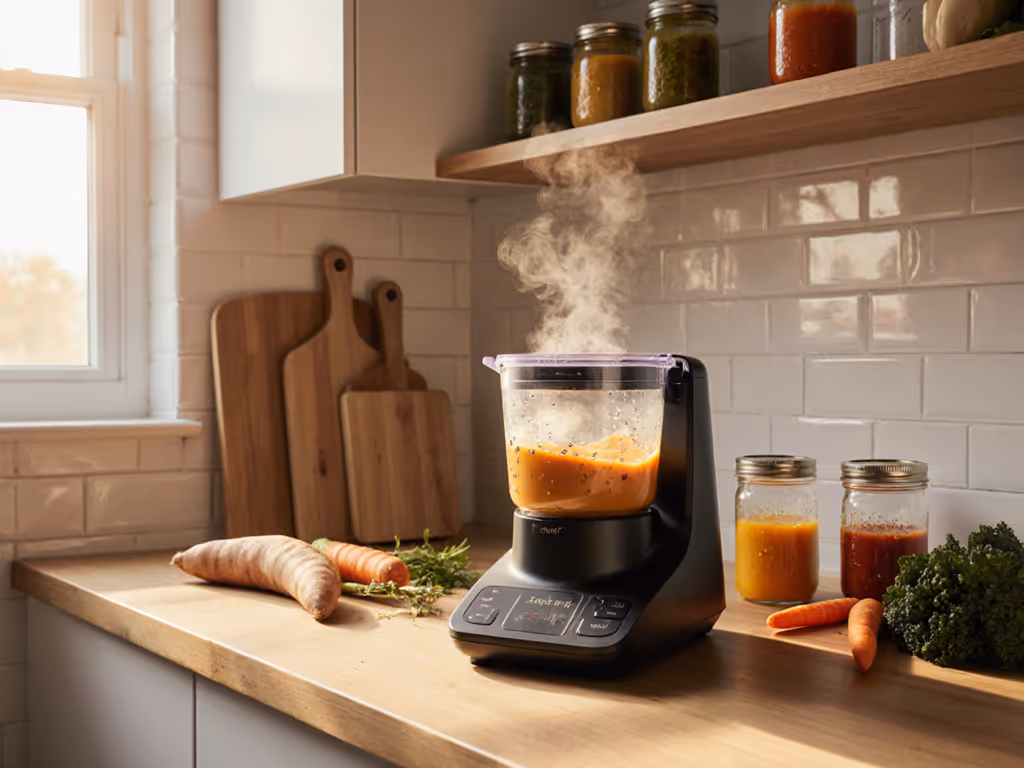
Batch cooking transforms your baby food preparation from a daily chore into a strategic and efficient process. By dedicating a few hours each week to preparing multiple meals, you can save time, reduce stress, and ensure your little one always has nutritious food ready.
Start by selecting a consistent batch cooking day. Weekend mornings often work best when you have more uninterrupted time. Prepare larger quantities of various ingredients like steamed vegetables, pureed fruits, and cooked proteins. Use ice cube trays as your secret weapon for portioning. Each cube typically represents about one ounce of food perfect for single servings.
After preparing your purees, immediately cool them to room temperature. Pour the mixtures into ice cube trays or specialized baby food storage containers. Once frozen, transfer the individual portions into labeled airtight containers or freezer bags. Pro tip: include the date of preparation and type of food to keep track easily.
Warning: Homemade fruit and vegetable purees last 3 days in the refrigerator and up to 8 months in the freezer. Meat based purees have shorter storage times—1 day refrigerated and 2 months frozen.
Develop a rotation system to ensure variety and prevent food waste. Mix and match different puree cubes to create interesting meal combinations. This approach not only keeps mealtime exciting for your baby but also helps introduce diverse flavors and nutrients. Always thaw frozen portions in the refrigerator and use within 24 hours after defrosting.
With your meals batch cooked and smartly stored, you are now prepared to streamline your baby feeding routine with confidence and ease.
Ensuring your baby's meals are safe and developmentally appropriate requires careful attention to texture progression and storage protocols. Your goal is creating nutritious meals that not only nourish but also support your child's eating skill development.
Texture progression is critical as your baby grows. Start with completely smooth purées for younger infants. Around 6 to 8 months, begin introducing slightly lumpier blends that encourage chewing skills. By age one, aim to offer soft small pieces that help develop motor skills and prevent future picky eating. Always supervise meals and cut food into small manageable pieces to avoid choking hazards.
When checking meal texture, use a spoon or fork to assess consistency. Purées should be smooth with no large chunks for younger babies. As your child develops, gradually increase food complexity. Test temperature by placing a small amount on your inner wrist—it should feel lukewarm, never hot.
Warning: Never return uneaten food to storage containers. Bacteria from saliva can rapidly multiply, creating potential health risks.
Storage safety demands strict protocols. Refrigerate prepared meals immediately and use within three days. Frozen portions should be used within two months for optimal nutrition and safety. When removing food from storage, heat thoroughly and check temperature carefully. Discard any food left at room temperature for over two hours to prevent bacterial growth.
With your meals carefully prepared, textured, and safely stored, you are ready to confidently feed your growing baby.
Are you tired of the constant rush and stress of preparing safe, healthy meals for your baby while trying to keep up with a busy schedule? This article highlights the most common struggles faced by parents: maintaining a sterile workspace, choosing safe and quiet baby food makers, and finding appliances that truly simplify your routine. You want a process that is quiet enough for naptime, fast enough for busy mornings, and easy to clean after the messiest days. Yet, finding truly efficient tools that meet high safety standards and fit your specific needs can be overwhelming.
Explore the solution at Parent Kitchen Lab, where real parents and experts have tested the best baby food makers for ease of use, noise level, and cleaning simplicity. Compare detailed reviews, discover product guides, and tap into pediatrician-approved recommendations today. Take the stress out of baby meal prep and set yourself up for success—visit our reviews and guides now to find your perfect baby food maker. Make every meal safer, faster, and more convenient, starting today.
Start by choosing a dedicated workspace in your kitchen away from contamination sources, ensuring plenty of clear counter space. Gather all necessary tools like cutting boards and storage containers beforehand to streamline your workflow.
Choose a baby food maker that operates quietly, ideally below 50 decibels, to avoid waking your baby. Prioritize models made from glass or high-quality stainless steel and check for important safety certifications to ensure you are making a safe choice.
Steaming is recommended as it preserves nutrients and creates soft textures ideal for baby food. Avoid adding salt, sugar, or extra fats during cooking to keep meals healthy for your little one.
Select a consistent day for batch cooking and prepare larger quantities of baby food that can be frozen in ice cube trays. Label your airtight containers with the preparation date and type of food to keep track of freshness and variety.
Refrigerate prepared meals immediately and use them within three days, while frozen portions should be consumed within two months for best quality. Always discard any food left at room temperature for over two hours to prevent bacterial growth.
Start with completely smooth purees for younger infants, and gradually introduce lumpier blends around 6 to 8 months to encourage chewing skills. Ensure you supervise meals and cut food into small pieces to avoid choking hazards.