Baby Food Mill Explained: Features, Types, and Benefits
11th Nov•14 min read
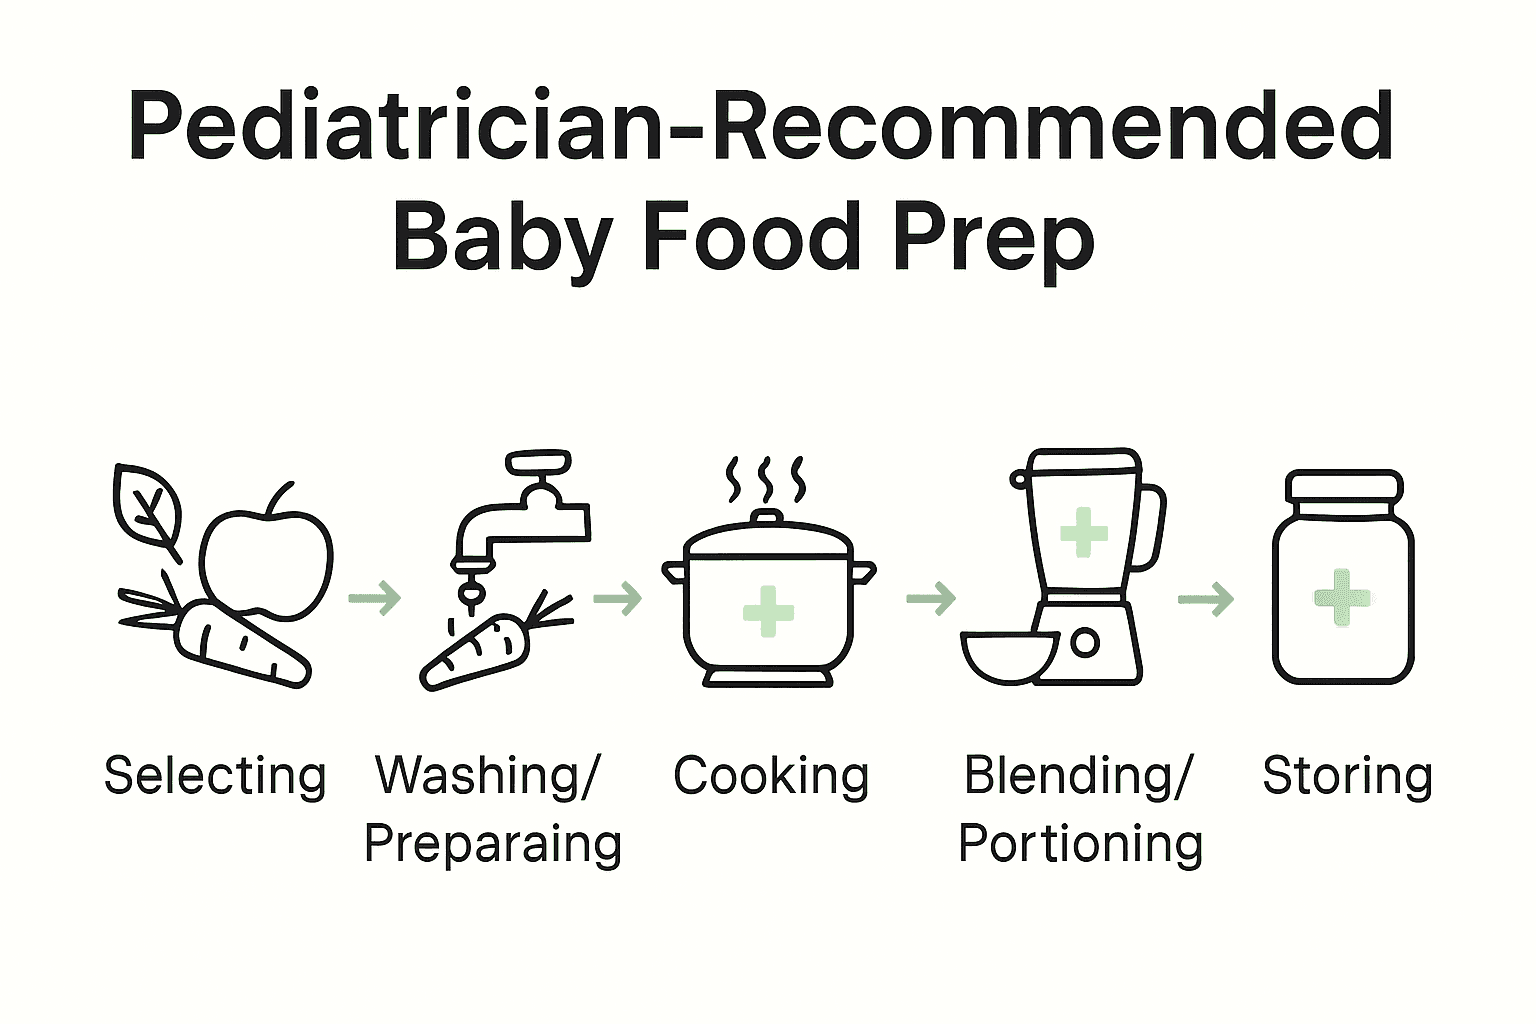
Every parent wants to give their baby the healthiest start, but nearly 60 percent of homemade baby food is prepared with basic mistakes that put nutrition and safety at risk. The early months are a crucial window for your child’s growth and development, so selecting the right ingredients and preparation techniques matters more than you might think. Follow this step-by-step guide to prepare nutritious, safe, and pediatrician-approved baby food that will help your child thrive from the very first bites.
| Key Point | Explanation |
|---|---|
| 1. Choose organic, fresh ingredients | Use organic produce and fresh ingredients to minimize health risks and provide essential nutrients for your baby. |
| 2. Practice safe food preparation | Wash all produce thoroughly and maintain hygiene in your kitchen to prevent contamination and ensure food safety. |
| 3. Cook evenly to ensure safety | Ensure even cooking to eliminate harmful bacteria and provide soft, easily digestible meals for your infant. |
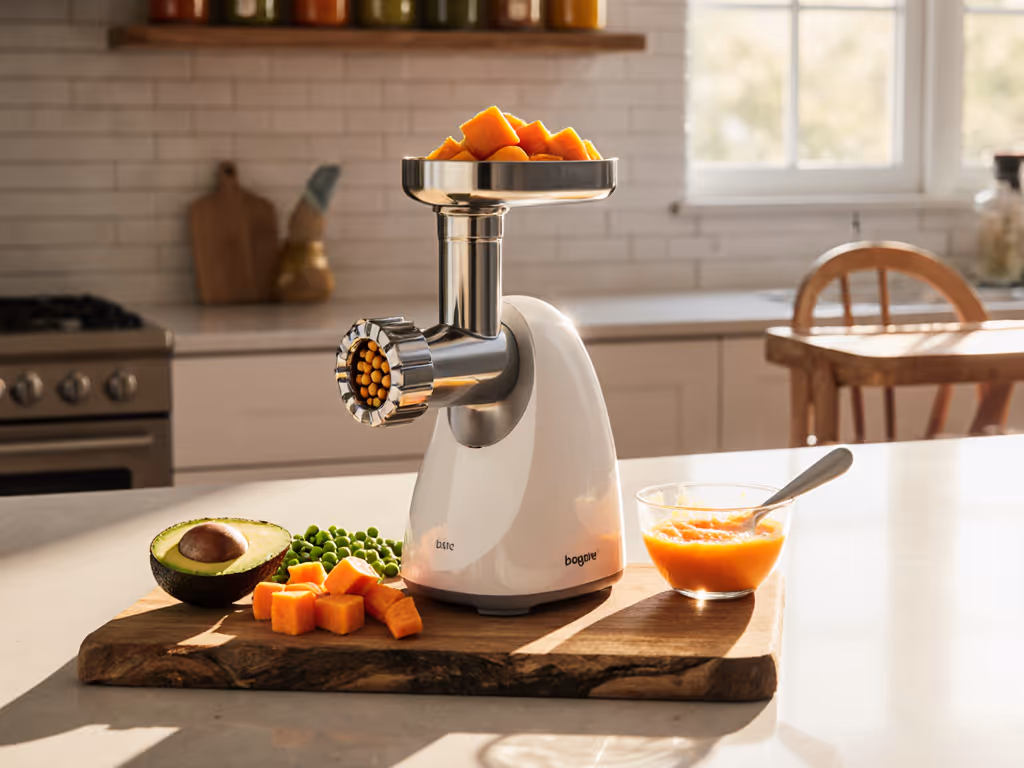
| 4. Blend to a smooth consistency | Use a high-quality blender to create smooth purees without lumps that could pose choking risks for your baby. |
| 5. Store and label appropriately | Store homemade baby food in airtight, labeled containers and follow safety guidelines for refrigeration or freezing. |
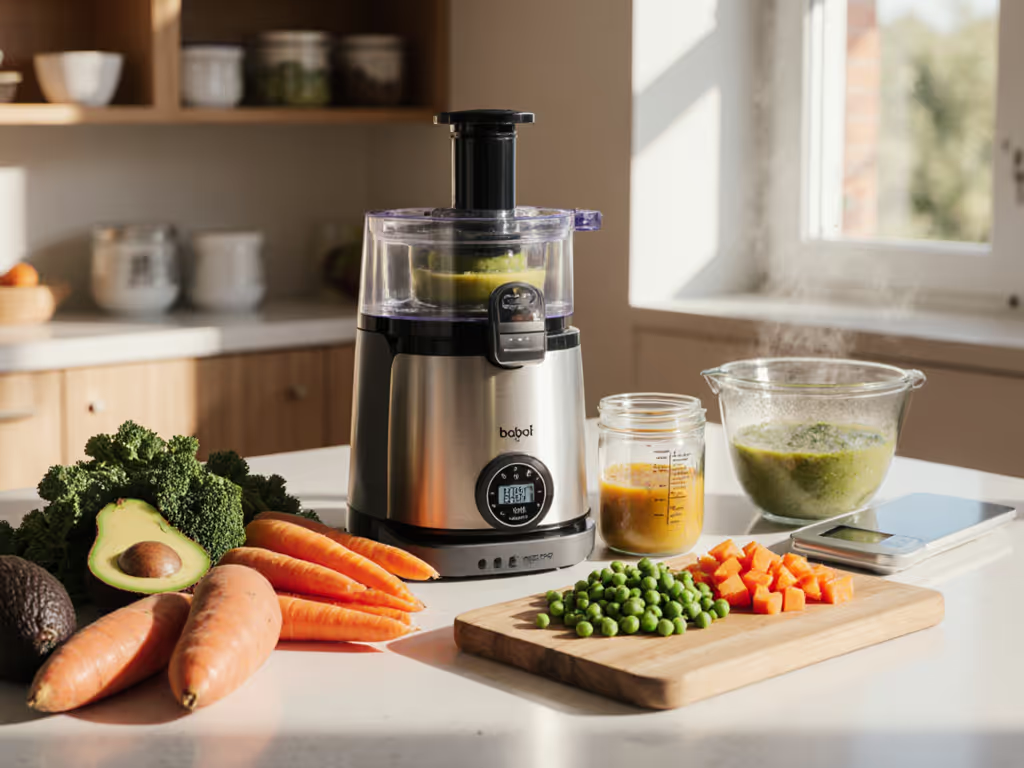
Choosing the right ingredients is crucial when preparing homemade baby food. Your goal is to create nutritious meals that support your infant's growth while minimizing potential health risks. Pediatricians recommend focusing on fresh, wholesome ingredients that provide essential nutrients without introducing unnecessary complications.
Start by selecting organic produce when possible. Fruits and vegetables should be thoroughly washed to remove potential pesticide residues and bacteria. The FDA strongly advises using fresh ingredients and handling meats with exceptional care to prevent foodborne illnesses. Recommended ingredients include soft fruits like bananas and avocados sweet vegetables such as carrots and sweet potatoes lean proteins like chicken and fish and whole grains that are easily digestible.
Warning: Certain ingredients require special attention. Michigan State University Extension specifically warns against introducing honey before one year old due to infant botulism risks. Similarly avoid unpasteurized dairy products which can contain harmful bacteria. Always consult your pediatrician about introducing new foods and watch for potential allergic reactions.
Your careful ingredient selection now sets the foundation for your baby's nutritional journey.
Preparing baby food requires meticulous attention to hygiene and safety. Your primary goal is to transform fresh ingredients into nutritious meals while preventing any potential contamination that could harm your infant's delicate health.
The FDA provides clear guidance on food preparation safety. Start by thoroughly washing all produce under cool running water to remove dirt pesticide residues and potential bacteria. Use clean hands and separate cutting boards for different food types to avoid cross contamination. The University of Minnesota Extension recommends peeling fruits and vegetables removing seeds and ensuring all equipment is completely sanitized before use. Invest in a reliable vegetable brush to scrub firmer produce like carrots and sweet potatoes removing surface debris effectively.
Warning: Your kitchen surfaces play a critical role in food safety. Always clean countertops cutting boards and utensils with hot soapy water before and after food preparation. Consider using a food grade sanitizing solution for extra protection. Remember that babies have more vulnerable immune systems so taking these extra precautions is not just recommended its essential. Your careful preparation now ensures a safe nutritious meal for your little one.
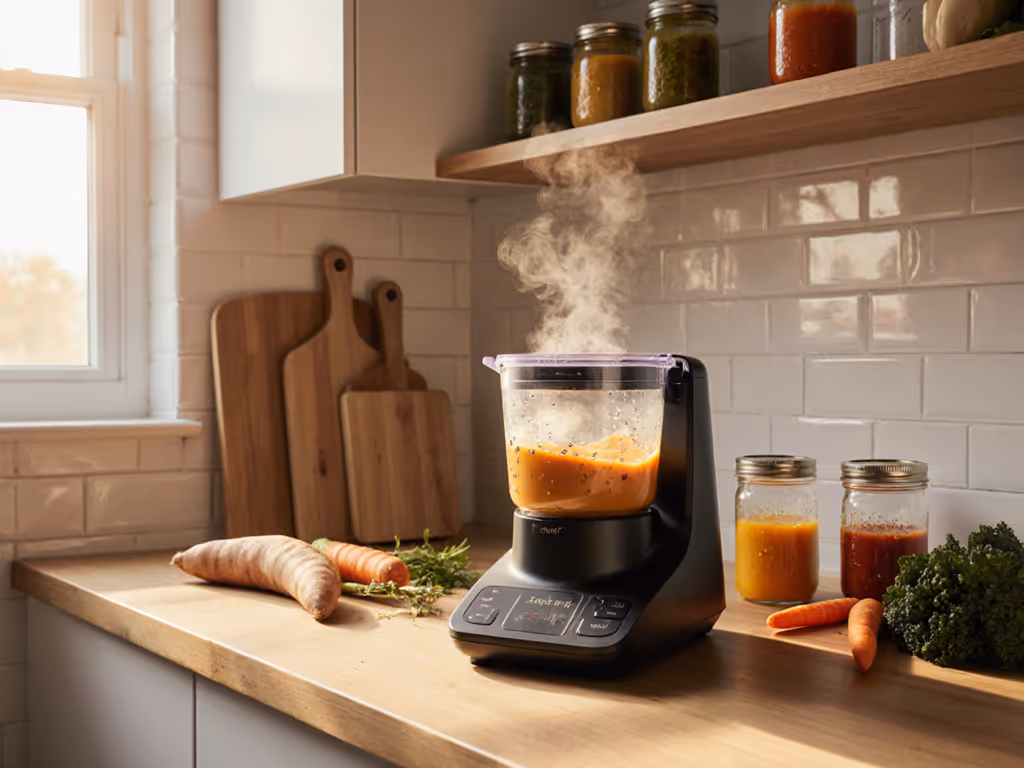
Cooking baby food requires precision and careful attention to ensure ingredients are thoroughly prepared and safe for your infant. Your goal is to transform raw ingredients into soft easily digestible meals that provide maximum nutrition without compromising safety.
The FDA recommends specific cooking techniques to ensure even softening and bacterial elimination. For vegetables steam or boil until they become tender enough to mash with a fork. When preparing meats cook thoroughly until they reach safe internal temperatures use a food thermometer to confirm doneness. North Dakota State University Extension emphasizes the importance of uniform cooking to eliminate potential harmful bacteria. Choose methods like steaming which preserve more nutrients compared to boiling opt for minimal water to retain maximum nutritional value. Cut ingredients into similarly sized pieces to guarantee even cooking and consistent texture.
Warning: Avoid overcooking which can destroy essential nutrients. Test food temperature before serving by placing a small amount on your inner wrist checking that it feels warm not hot. Allow cooked foods to cool completely before storing or pureeing. Your careful cooking approach transforms simple ingredients into safe nutritious meals designed specifically for your babys developing digestive system.
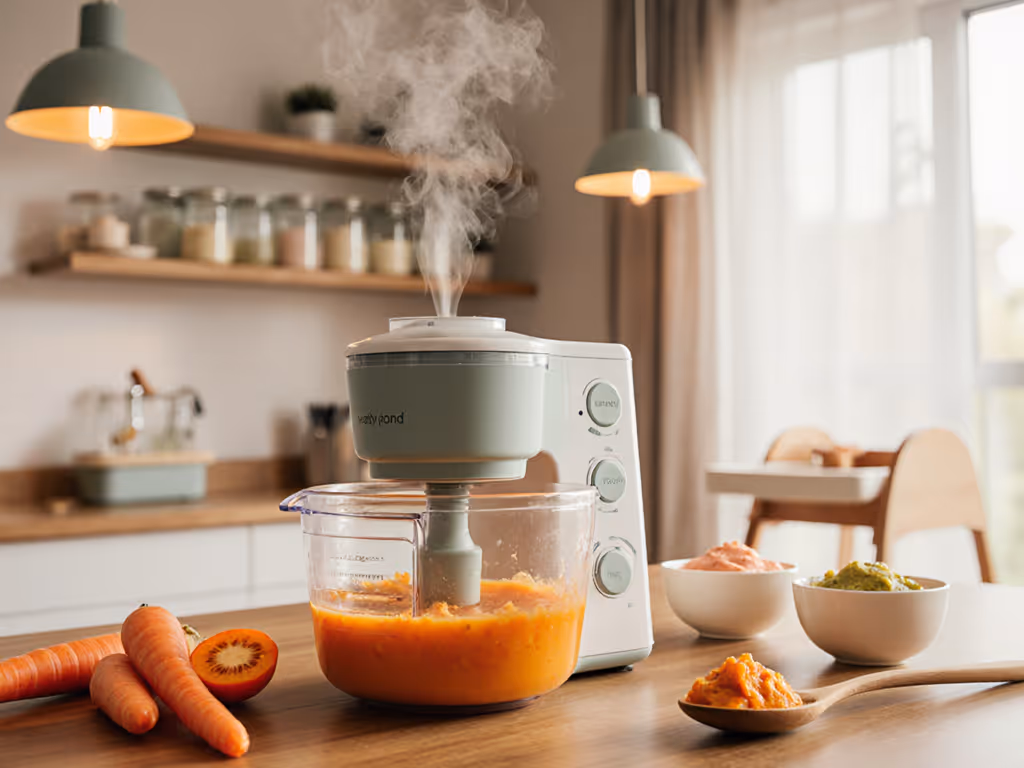
Blending and portioning baby food is the final transformative step that turns carefully prepared ingredients into nutritious meals ready for your infant. Your goal is to create smooth consistent purees that are easy for your baby to digest and simple for you to store and serve.
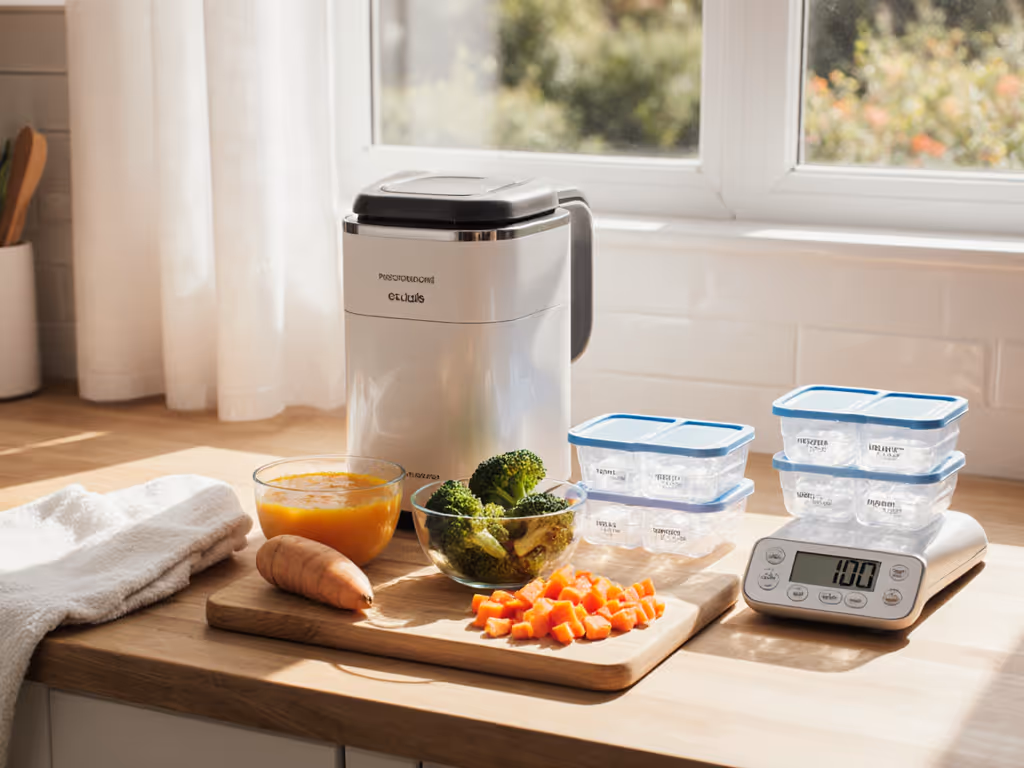
The University of Maine Cooperative Extension recommends using a high quality blender or food processor to achieve the perfect texture. Start by adding cooked ingredients and blend until you reach a smooth puree removing any remaining chunks or tough fibers. Ohio State University Extension suggests adding a small amount of breast milk formula or cooking water to adjust consistency if the puree seems too thick. Once blended use ice cube trays as a brilliant portioning technique each cube represents approximately one ounce of food making future meal planning incredibly convenient. Label each tray with the date and type of food to keep track of your homemade baby food inventory.
Warning: Texture is crucial for baby food. Aim for a very smooth consistency with no visible lumps that could pose choking risks. Test the puree between your fingers to ensure it is completely smooth. Refrigerate pureed foods immediately and use within 48 hours or freeze in labeled containers for up to three months. Your careful blending and portioning approach ensures your baby receives nutritious homemade meals tailored precisely to their developmental needs.
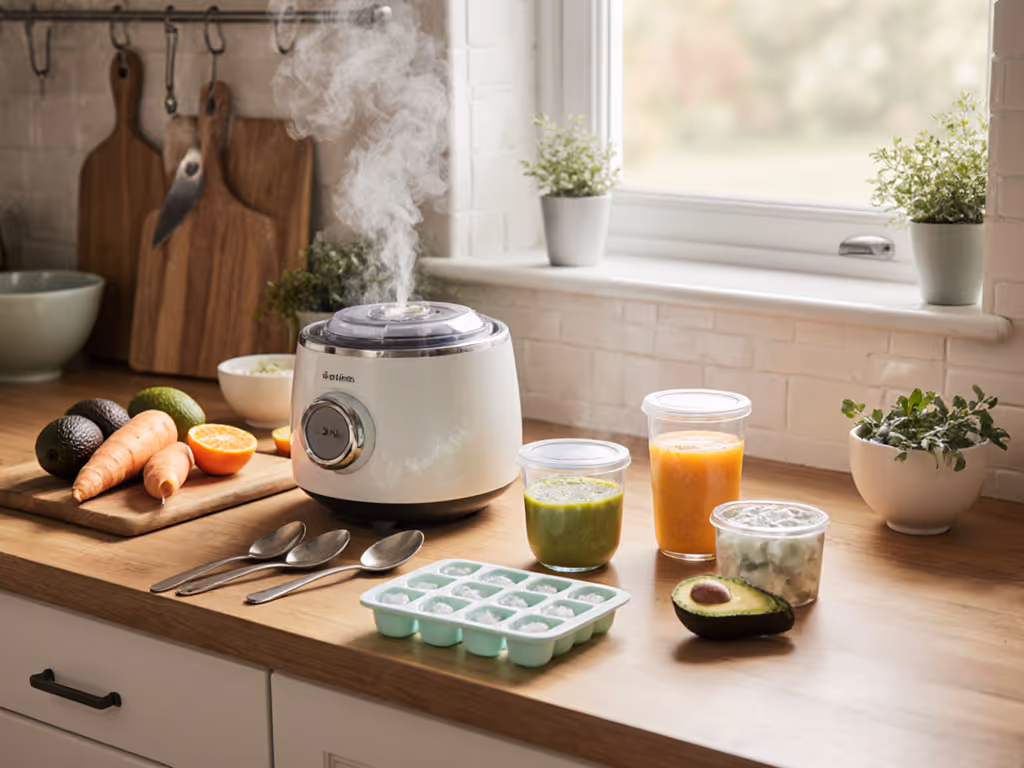
Storing homemade baby food safely is the final critical step in your meal preparation journey. Your goal is to preserve the nutritional value of your carefully prepared meals while preventing bacterial growth and maintaining optimal food safety for your infant.
The FDA provides clear guidelines for storing homemade baby food. After preparing your purees immediately transfer them to clean airtight containers. Use glass or BPA free plastic containers with tight sealing lids. The University of Minnesota Extension recommends freezing purees in ice cube trays for convenient portioning each cube representing a single serving. Once frozen transfer the food cubes into labeled freezer bags noting the date and type of food. Refrigerated baby food should be consumed within 48 hours while frozen baby food remains safe for one to two months. Always store baby food in the coldest part of your refrigerator or freezer to maintain optimal temperature and prevent bacterial growth.
Warning: Never store baby food at room temperature for more than two hours. Always use clean utensils when serving to prevent contamination. Thaw frozen baby food in the refrigerator and use within 48 hours after thawing. Discard any unused portions and never refreeze thawed baby food. Your meticulous storage approach ensures your little one receives safe nutritious meals prepared with love and care.
Ensuring your baby receives safe and appropriately prepared food is the most critical final step in your homemade meal preparation process. Your goal is to transform carefully prepared ingredients into a perfectly textured meal that meets your infants nutritional needs and developmental capabilities.
The FDA strongly recommends conducting a thorough texture and quality check before serving. North Dakota State University Extension advises testing food consistency by using your clean finger or a small spoon to assess smoothness. Gently press the puree between your fingers checking for any remaining lumps or rough textures that could pose choking risks. Aim for a uniformly smooth consistency that can be easily swallowed by your baby. Check the temperature by placing a small amount on your inner wrist it should feel warm not hot. If the puree seems too thick add a small amount of breast milk formula or cooking water to achieve the right consistency for your babys age and eating abilities.
Warning: Always supervise your baby during feeding and watch for signs of discomfort or allergic reactions. Introduce new foods gradually and one at a time. If you notice any unusual texture or suspect the food might have spoiled discard it immediately. Your careful verification ensures your baby receives a safe nutritious meal perfectly tailored to their developmental stage.
Preparing homemade baby food that meets pediatrician recommendations involves careful ingredient selection, precise cooking, and safe storage. Parents often face challenges like finding appliances that blend purees smoothly, cook evenly, and clean up quickly while keeping noise levels low during naptime. This can make the step-by-step guide to baby food preparation feel overwhelming when combined with everyday parenting demands.
Discover baby food makers designed to simplify every stage of your prep. At Parent Kitchen Lab, we specialize in reviewing quiet and efficient appliances that provide consistent texture and easy portioning, so you can confidently follow pediatrician-approved steps without added stress. Learn how to choose tools that prioritize safety, convenience, and ease of use to create wholesome meals your baby will love.
Ready to take the hassle out of your baby food preparation? Explore our in-depth baby food maker reviews and find the perfect appliance to support your careful efforts in nutritious baby meals today.
Choosing pediatrician approved ingredients is essential for your baby's nutrition. Focus on fresh, organic produce, lean proteins, and whole grains. Avoid honey and unpasteurized dairy before your baby turns one year old.
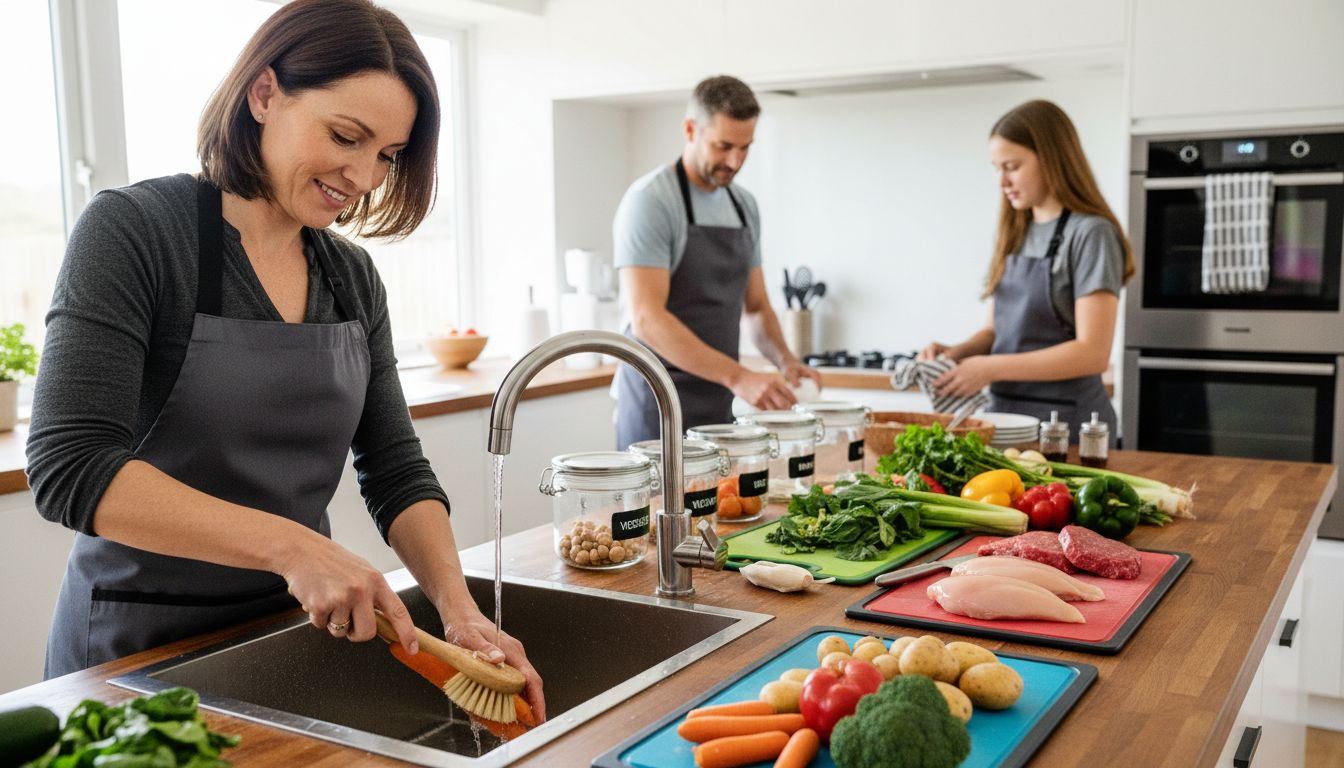
Thoroughly wash all fruits and vegetables under cool running water to eliminate dirt and pesticides. Use separate cutting boards for different food types to prevent cross-contamination, ensuring your baby food is as safe as possible.
Steaming or boiling is recommended to ensure ingredients are tender and safe for your baby. Cut food into similarly sized pieces for even cooking, and aim for a texture that is soft enough to mash with a fork.
Store homemade baby food in clean, airtight containers immediately after preparation.
 Freeze purees in ice cube trays for convenient portioning, and ensure refrigerated baby food is consumed within 48 hours to maintain freshness.
Before serving, check the food's texture by feeling it between your fingers to ensure a smooth consistency free of lumps. Also, test the temperature on your inner wrist; it should be warm, not hot, to ensure safe feeding.
If your baby displays unusual reactions after eating new foods, discontinue that food immediately. Always introduce new ingredients one at a time, which allows you to monitor for allergic reactions effectively.