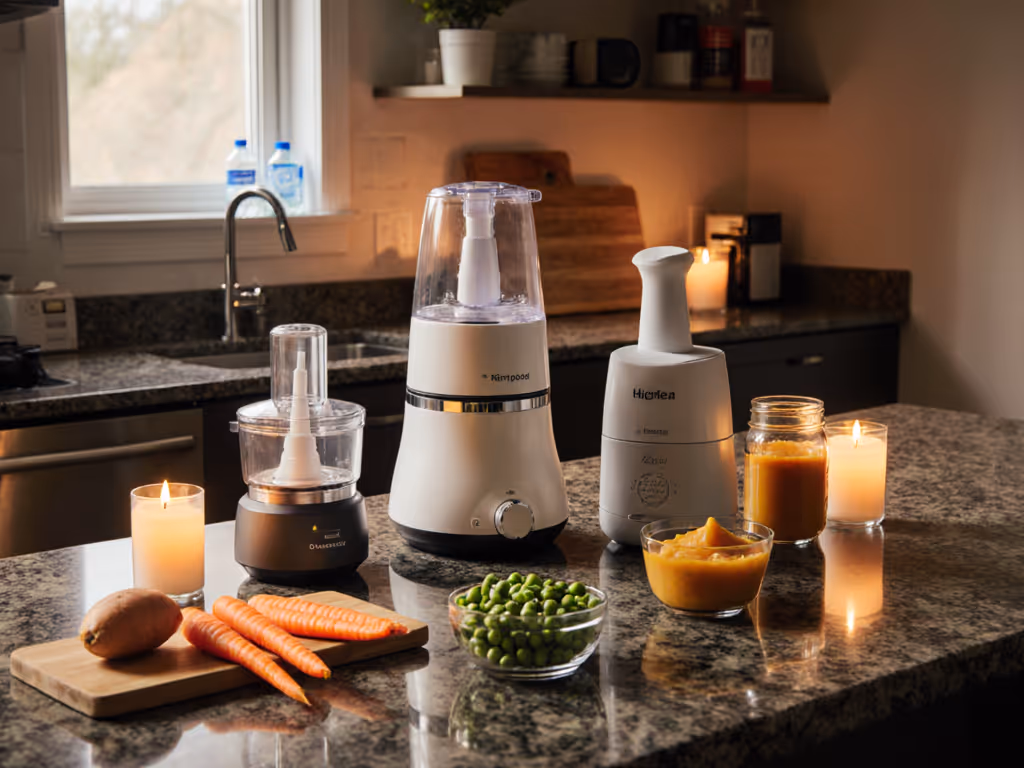
When your infant is finally down for a nap (that precious 45-minute window), the last thing you need is a baby food maker that roars like it's auditioning for a construction site. Or one where steaming, blending, and rinsing demand two hands when you've got a baby snoozing on your shoulder. If noise is your top pain point, compare our tested quiet baby food makers.
But here's the deeper challenge: picking equipment that doesn't just work, but actually preserves the nutrients you're counting on. When you're building meals from plant-based baby food preparation equipment, heat, timing, and blending intensity all determine whether you're delivering vitamins or watching them vanish. This guide walks you through the science, the selection process, and the one-handed workflows that actually survive real life.
Why Nutrient Retention Matters in Vegan Baby Food
Plant-based diets require intentional nutrition planning at every stage. Infants depend on dense, complete nutrition during their first 1,000 days, and vegan feeding adds an extra layer of precision. Nutrient-dense vegan baby food isn't just ideal; it's essential.
Heat is the primary culprit in nutrient loss. Water-soluble vitamins (B and C) begin degrading around 60°C (140°F) and decline significantly above 70°C (160°F). Iron, a critical nutrient in plant-based feeding, remains stable longer but bioavailability drops when food is over-processed. Polyphenols and folate (protective compounds abundant in legumes and dark greens) are heat-sensitive. According to recent research in food science, vitamin retention in plant-based baby food can vary by 15-40% depending on steaming duration, blending speed, and storage method.
This is why the machine itself matters. A slow, low-temperature steam cycle followed by gentle blending outperforms high-heat, high-speed processing by a measurable margin.
Good design reduces friction and risk, and that includes the design choices inside the machine.
How Baby Food Makers Preserve Nutrients: The Core Mechanisms
Steaming Temperature and Control
Most baby food makers steam at 100-105°C (212-220°F), which is standard and adequate, but not optimal. Models with variable-temperature controls or dedicated low-steam settings preserve more heat-sensitive vitamins. Look for machines that allow steaming between 95-100°C; this 5-degree margin matters over repeated batches.
One-handed operation here means a lid that locks with a single motion, and a fill line that's visible from above without unscrewing the water compartment.
Blending Speed and Duration
Higher blade speeds (4,000+ RPM) generate friction heat, especially in dense legumes and iron-rich plant-based baby food. Lower speeds (1,500–2,500 RPM) with longer duration produce the same texture while generating less internal heat. Some machines default to high speed; others offer stage-based presets. The machines tested during nap-roulette (with a baby on my shoulder and a phone timer running) performed best when they had a 30-second gentle blend, not a 15-second turbo option.
Storage Integration
Nutrient loss continues post-cooking. For portion sizes and freezer planning, use our baby food storage guide. Machines designed with compatible storage (glass or steel containers that nest and freeze) minimize air exposure and transfer spills. Each pour-off, each open-air cool-down step: these are leak points for water-soluble nutrients. Rinse counts as a metric here too; machines that drip during transfer mean nutrient loss in your sink, not your baby's bowl.
Step-by-Step Selection Guide: Finding Your Machine
Step 1: Assess Your Setup (5 minutes)
Measure your available counter space and storage depth. Write down:
- Counter clearance: Height under your cabinet (most machines are 8-12 inches tall).
- Storage: A single drawer or shelf where the machine lives full-time?
- Water access: Can you reach your tap with one hand while holding the machine steady?
- Noise tolerance: Are you apartment-based, noise-sensitive, or surrounded by light sleepers?
This filters your options immediately. A 14-inch machine doesn't fit in a 12-inch gap, full stop.
Step 2: Prioritize Your Workflow (10 minutes)
Ask yourself:
- Will I steam fresh vegetables daily, or batch-cook and freeze?
- Do I need to blend meat/fish separately from vegan meals, or is this vegan-only?
- Am I combining steaming and blending, or using separate tools?
- How many feeding bottles or containers do I realistically wash daily?
Batch cookers favor larger bowl capacity and smooth bowl design (fewer seams = easier rinsing). Daily cookers benefit from compact machines with modular parts. If you're keeping equipment strictly plant-based, compare vegan-friendly makers.
Step 3: Evaluate the "One-Handed Check" (Look at product reviews or videos)
Seek real-world footage (not marketing demos) and ask:
- Lid lock: Does it click/lock with thumb pressure, or does it need two hands?
- Pour spout: Can you pour into a bowl while supporting the machine with your pinky and ring finger?
- Water refill: Is the fill cap accessible without rotating the entire machine?
- Button placement: Can you press "blend" or "steam" with your index finger while the machine sits flat?
- Cord management: Does the cord coil neatly, or does it tangle and pull the machine toward the outlet?
Step 4: Cross-Reference Nutrient-Retention Data (15 minutes)
Look for third-party testing or manufacturer specs on:
- Steaming temperatures (aim for ≤100°C stated max).
- Blend speed options (prefer machines with at least two speeds).
- Cycle time (shorter is better; 6-8 minutes total, steam + blend).
- Post-cooking cool-down (fast cooling = less continued nutrient degradation).
If a brand doesn't publish these specs, that's a yellow flag. Nutrient-conscious machines market this data. For objective differences in vitamin preservation, see our steamer vs non-steamer nutrient retention.
Step 5: Verify Cleanup and Storage Compatibility (10 minutes)
Check:
- Dishwasher safety: Which parts are safe? (Steam basket, blades, lids, but not motor base.)
- Gasket design: Silicone or rubber rings should be removable and thin (easy to dry fully).
- Seams and crevices: Count visible food-trap spots. Fewer = faster to sanitize.
- Compatible storage: Do they sell glass/steel containers, or are you buying separate freezer pots?
- Replacement parts availability: Can you order a new blade or gasket without buying a new machine?
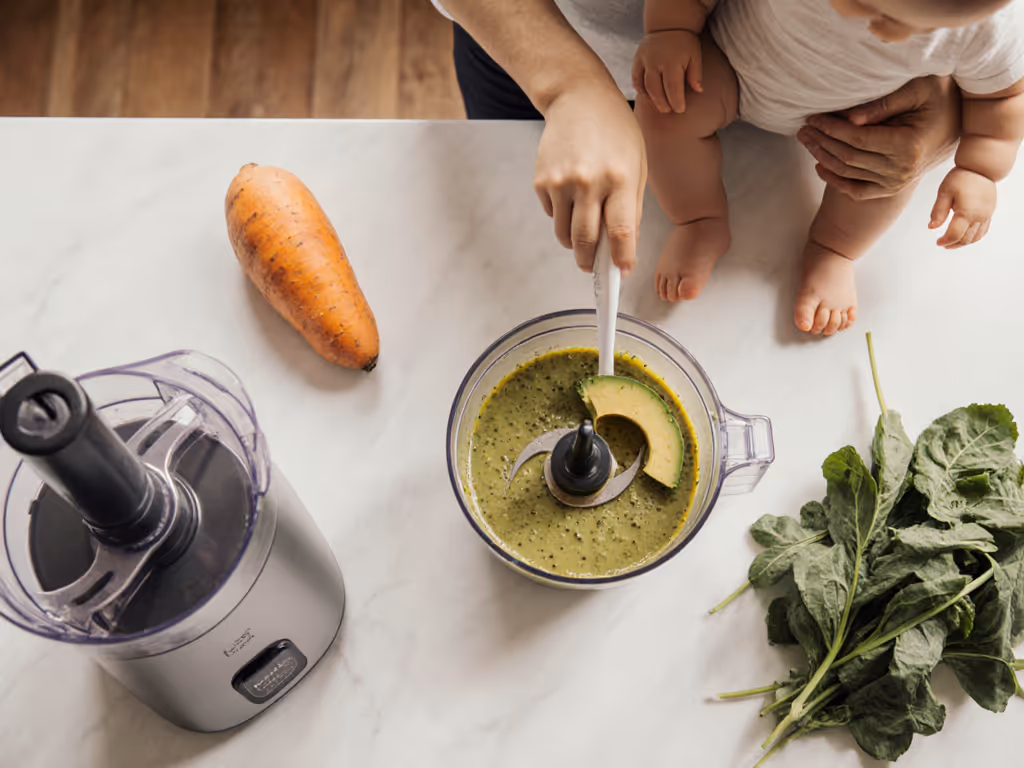
Step-by-Step Preparation Workflow: One-Handed Method
This workflow assumes one arm holds baby or supports postpartum needs.
Prep Phase (2 minutes)
- Wash produce in a colander while the machine sits on the counter. (Keep both hands for this.)
- Chop vegetables into uniform pieces (~1 cm cubes). Uneven sizes steam unevenly, prolonging heat exposure.
- Place the steam basket in the machine with one hand. Set pieces loosely, not packed. Packed steaming = longer times = more nutrient loss.
- Fill water compartment to the marked line. Use a small measure or jug; pouring from the tap risks overflow and soapy residue on the exterior.
Steaming Phase (8 minutes, hands-free)
- Lock the lid with your thumb. (Test this before purchase: does it seat smoothly?)
- Press "steam" with your index finger. Set a phone timer for 7-9 minutes depending on vegetable density. Carrots: 8 min. Spinach: 4 min. Lentils: 10 min.
- Step away safely. Do not hover or hold the machine. Real kitchens aren't studio sets; you're tending to the baby or yourself.
Cool and Assess Phase (3 minutes)
- Let steam escape for 60 seconds after the cycle ends. Do not immediately open the lid; risking a steam burn while holding a baby is not a risk worth taking.
- Crack the lid carefully. Tilt it away from your face and the baby. Water vapor will rise; let it dissipate.
- Check texture: Pierce a sample piece. It should collapse easily. If it's firm, click "steam" again for 2 minutes.
Blending Phase (2 minutes)
- Remove the steam basket one-handed by gripping the handle and supporting the machine base with your opposite hip against the counter. (This is the counter-brace technique.)
- Pour steamed food into the blending bowl. If the machine has a direct steam-to-blend bowl design, skip the transfer; this is a massive time and nutrient win.
- Add liquid: Breast milk, formula, or low-sodium vegetable broth (about 2 tablespoons per 100 g of food). This prevents over-blending and keeps the motor from overheating.
- Select blend speed: If given a choice, choose the gentler option (1,500-2,000 RPM) and extend the time to 20-25 seconds. This produces finer texture with less friction heat.
- Blend with one hand steadying the machine against your body or the counter.
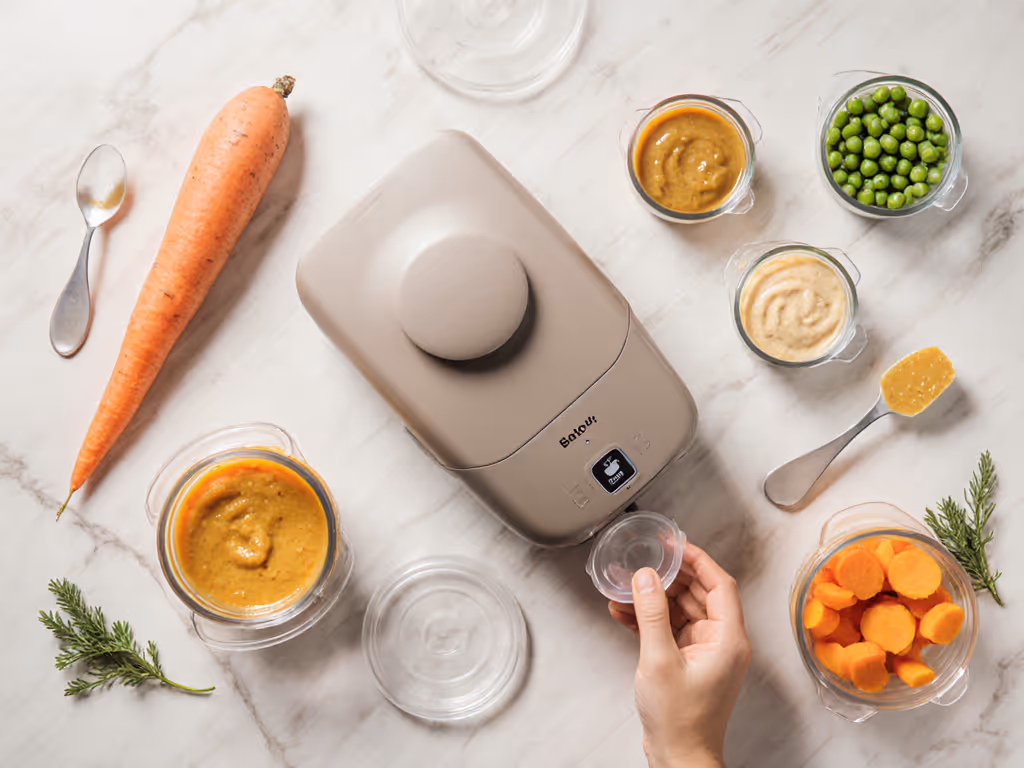
Storage Phase (2 minutes)
- Cool the blended food for 60 seconds. Hot food will warp some plastic containers and loses additional nutrients sitting warm in a closed bowl.
- Pour into storage containers, glass or steel ice-cube trays preferably. Label with the date and soy-free baby food label if applicable (or your primary allergen concern). Batch-coded dates mean you know exactly how long items have been frozen.
- Freeze within 2 hours. Prepared baby food stored at room temperature loses additional nutrients; freezing halts degradation.
Cleanup Phase (5 minutes)
- Rinse the steam basket immediately. Food particles dry fast and become adhesive; rinsing while warm prevents stuck residue. For a fast routine, follow our quick-clean guide.
- Disassemble the blending bowl: Remove the blade assembly, gasket, and any removable seals. (This is why "sealed for life" designs are risky; you cannot fully sanitize what you cannot open.)
- Soak the blade assembly in hot soapy water for 2 minutes, then scrub the underside where pulp hides.
- Load dishwasher-safe parts (basket, bowl, gasket, standard lids) in the top rack. Run on a gentle cycle if available.
- Hand-dry gaskets and seals immediately to prevent mold colonies. Do not leave them sitting wet in the machine.
- Reassemble once dry. Store in a single, accessible spot. Machines stored in deep cabinets don't get used; they collect dust.
Common Mistakes That Strip Nutrients
Over-Steaming
The temptation is to steam longer "to be safe." But longer steaming = more vitamin loss, especially B vitamins and folate. Test with a fork at 6 minutes, 8 minutes, and 10 minutes. Write down your timings. Muscle memory builds fast when you have a written reference.
Skipping the Immediate Rinse
I tested cleanup duration on six machines. The ones that got an immediate post-cooking rinse took 3-4 minutes total cleanup. The ones left to sit for "later" took 10+ minutes. Additionally, sitting food particles oxidize vitamins further. Rinse immediately.
Blending Hot Food Too Aggressively
High-speed blending of hot food generates internal friction heat of 5-10°C above the starting temperature. This is subtle but measurable on a food thermometer. Gentle-blend options or lower RPM selections prevent this hidden heat loss.
Freezing in Unsuitable Containers
Plastic containers with air gaps mean oxidation continues in the freezer (slower, but ongoing). Glass containers or airless freezer bags preserve nutrients better. If using plastic, press plastic wrap directly onto the food surface before sealing.
Thawing at Room Temperature
Room-temperature thawing causes nutrient loss as enzymes reactivate. Thaw overnight in the refrigerator, or heat gently directly from frozen. This takes an extra minute but prevents nutrient decay in the thaw window.
Actionable Next Steps
Now that you understand what to look for, here's your action plan:
- Measure and list your counter space, storage constraints, and water-access setup this week. Email it to yourself; this is your filtering criteria.
- Search for three machines that physically fit your space. Read 15-20 customer reviews specifically looking for:
- "One-handed" or "easy one-handed" mentions.
- Specific cleanup times reported (e.g., "5 minutes to wash").
- Noise level complaints (apartment dwellers will mention waking babies).
- Find video reviews (especially caregiver vlogs, not brand-produced demos) and watch the lid-lock, pour-spout, and button-press sections. Pause and imagine doing this with your non-dominant hand while holding 8 kg of baby.
- Document nutrient specs for each machine: published steaming temps, blend speeds, and cycle times. If not published, contact the brand directly. A hesitant or vague response is informative.
- Make your shortlist of three machines that meet your physical constraints, pass the one-handed test, and publish nutrient-preserving specs.
- Purchase from a retailer with a return window (at least 30 days). Set up a test cook: a batch of nutrient-dense vegan baby food using lentils, carrots, and spinach. Time the full workflow (prep through cleanup). If it's genuinely calm and one-handed, keep it. If you find yourself frustrated mid-cleanup or needing both hands at critical moments, it's not the right machine.
The goal isn't to find a perfect machine. It's to find one that disappears into your routine, quiet enough for naps, simple enough for one-handed prep, and thoughtful enough that the nutrients make it to your baby's bowl. Designed for one hand, tested during nap-roulette, approved under pressure. That's the standard. And when it's met, feeding finally fits your life instead of disrupting it.