Baby Food Makers for BLW: Steam Without Pureeing
27th Mar•9 min read
If high-humidity baby food preparation has you fighting slimy lids, watery purees, and surprise mold spots, you are not alone. In tropical climate baby food making, the same warmth and moisture that make mangoes taste amazing also speed up spoilage and mess with texture.
This list is a calm, science-backed workaround: simple systems, not perfection. Ratios beat rigid recipes, and when you set them up for your climate, you get what you really want: safe, good-texture food that fits into naps, not around them.
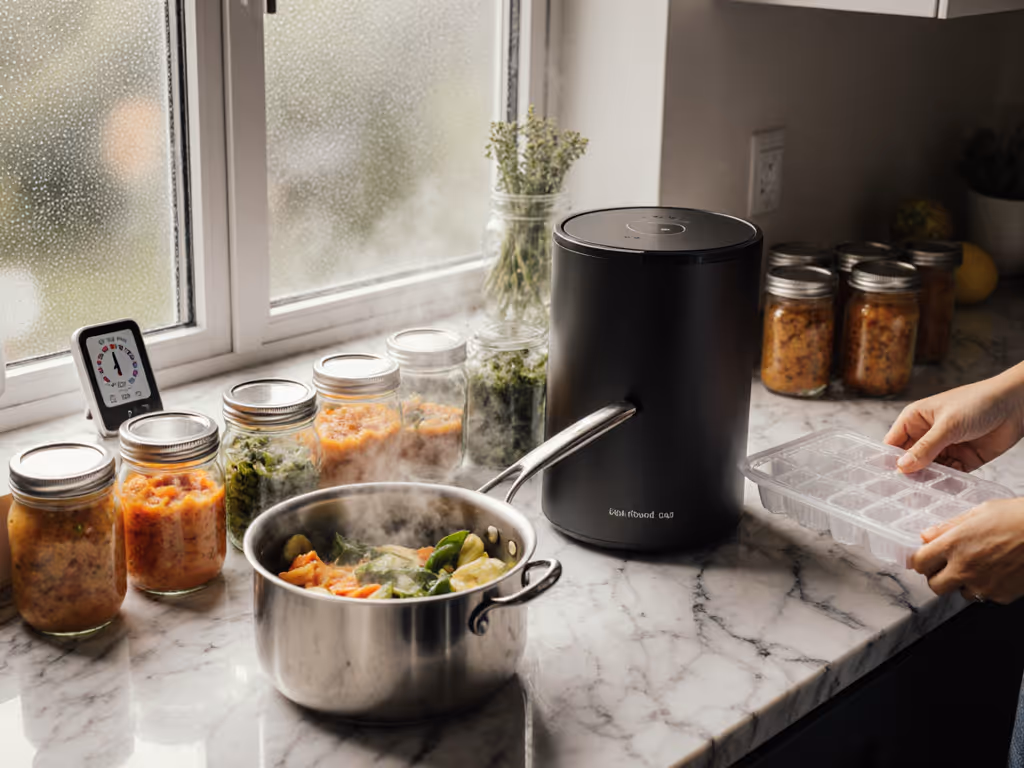
One effort, many plates: puree-to-family without extra noise.
Warm, wet air is ideal for bacteria, which is why letting baby food sit out at all matters more in humid homes.
Food-safety guidelines for baby foods recommend refrigerating or freezing homemade baby food as soon as possible and avoiding leaving it at room temperature for more than about 2 hours.[2][3] That's in typical conditions; in a hot, coastal apartment, it is reasonable to aim for closer to 1 hour as your personal upper limit.
How to apply this:
This single fix lowers both mold worries around baby food and general foodborne illness risk. For data-backed time limits and storage thresholds, see our lab-tested baby food safety study.
In coastal region baby food challenges, the enemy isn't just temperature, it's condensation forming inside containers, feeding mold.
Food-safety guidance emphasizes clean, dry containers with tight-fitting lids and hygienic storage to limit contamination and microbial growth.[2][3][4] In humid homes, "dry" takes extra intention.
What helps in high humidity:
If you notice recurring lid mold, treat that container like a science experiment that failed, retire it rather than repeatedly scrubbing and worrying.
Freezing is your best ally for mold prevention baby food in humid environments. Guidelines recommend freezing purees in small portions (like ice cube trays), then transferring the frozen cubes to airtight containers.[2][3][6]
Homemade baby food is typically considered best used within 1-2 days in the fridge and 1-2 months in the freezer, especially for quality.[2][3][6] For portion sizes, labeling systems, and freezer organization, see our baby food storage guide.
Make that work in the tropics:
This approach keeps humidity effects on baby nutrition lower by reducing repeated warming and cooling of the same food.
Blender gaskets, steamer baskets, and tiny lids are mold magnets when the air never feels fully dry.
Safe preparation guidance stresses thorough washing, hot soapy water, and full drying of utensils and boards, plus regular sanitizing of food-contact surfaces.[2][3][4]
Mold-proofing in a humid kitchen:
You're not being fussy; you're matching your cleaning to your climate. Follow our quick-clean baby food maker guide for step-by-step washing and drying routines that prevent mold in gaskets and lids.
In sticky climates, you may notice baby food texture in humid environments turning thinner or slightly separated after a day in the fridge. Some of this is normal water separation; some is extra condensation.
Guidance on homemade baby food notes that foods should be cooked until very tender and may be thinned with breastmilk, formula, or water to reach the right texture.[3] The more water you add at the start, the more likely you are to end up with a soupy puree later.
Texture strategies that travel well through humidity:
Here again, ratios beat rigid recipes. Small shifts in liquid and base ingredients can make textures far more stable in a humid fridge.
In warm, wet air, letting food thaw on the counter is especially risky. Food-safety resources advise not leaving baby foods at room temperature for more than about 2 hours, and to reheat foods until they are hot all the way through, then cool and stir well before feeding.[2][3][5][6]
Safer thawing for tropical climate baby food making:
This routine limits both bacterial growth and repeated heating, which can otherwise reduce the quality of nutrients and texture over time.[2][3]
Humidity isn't only a food-safety issue; it's also an energy drain. Pair that with nap protection and suddenly your baby-food window is tiny.
Instead of aiming for picture-perfect weekend marathons, think in quiet-prep steps that work with your climate:
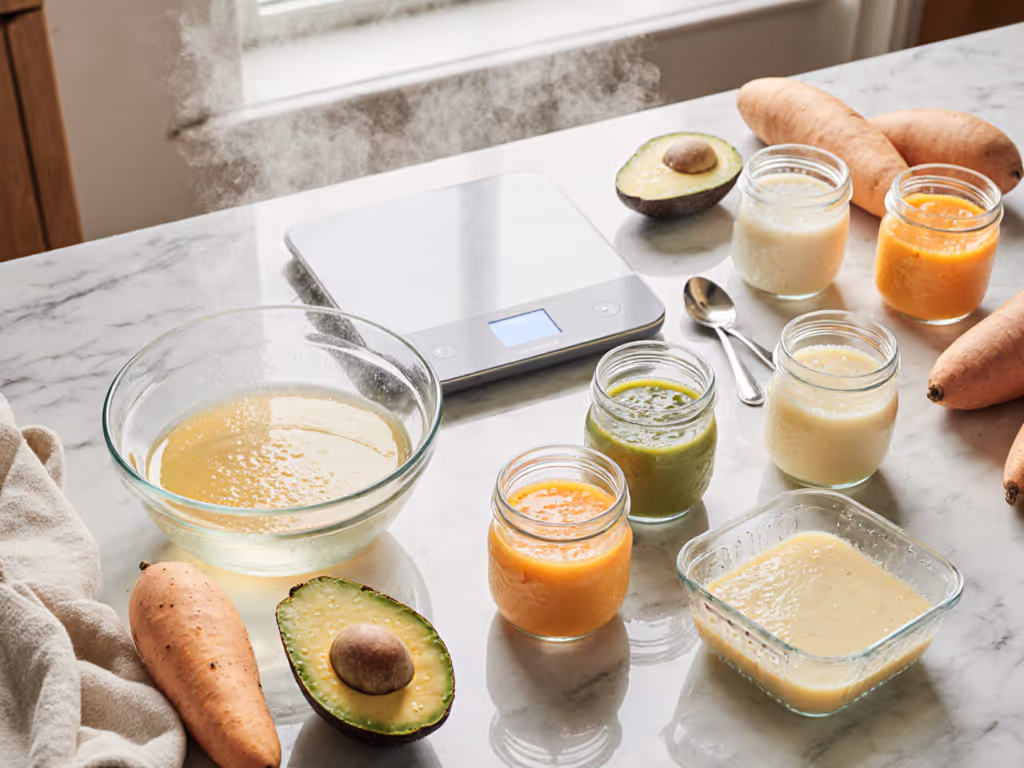
This is where "one effort, many plates" shines: that thicker veggie base you blend once can feed baby today and become tomorrow's pasta sauce or soup.
Humidity means you want less food sitting in the fridge and more safely portioned in the freezer.
Food-safety recommendations suggest keeping homemade baby food 1-2 days in the fridge and 1-2 months in the freezer, with labels and dates for easy tracking.[2][3][6]
A simple humid-climate map might look like:
Label trays and containers with the food and date so the oldest cubes are used first.[2][6] This lowers decision fatigue and keeps coastal region baby food challenges from becoming guesswork at the back of the fridge. If you want a deeper workflow, try our complete guide to batch baby food making.
In a humid home, you are already tracking leaky windows, damp towels, and sometimes power flickers. A visible checklist keeps food safety from living entirely in your head.
Based on mainstream baby-food safety guidance, a simple fridge note might say:[2][3][4][6]
That's your anchor when humidity and exhaustion are both high.
High-humidity baby food preparation isn't about fighting your environment, it's about designing around it. You've seen how small, science-backed shifts in cooling time, container choice, freezing strategy, and texture can turn a sticky, stressful kitchen into a steady system.
From here, your next step is gentle experimentation:
Use these nine fixes as a base map, then keep exploring ratios, workflows, and quiet-prep habits that match your tropical kitchen (and your family's real life).