Quiet Baby Food Makers: Reflux-Friendly Prep
6th May•9 min read
Baby food makers for oral motor challenges work best when paired with a thoughtful framework (one that matches food texture to your child's developing skills, not the other way around). Texture grading for infants isn't about rushing progression; it's about understanding which textures your little one can actually manage, then building from there with confidence and, ideally, quiet prep time that protects naps.
If you've ever worried that your baby is "packing" food (holding it in their mouth rather than swallowing), or if textures you've offered have sparked choking anxiety or outright refusal, you're not alone. The good news: a systematic approach to texture progression (grounded in real oral motor development) removes the guesswork and replaces it with measurable, stage-matched steps.
Your baby's mouth is a workspace. Between 4 and 24 months, it develops specific motor patterns: sucking, munching, chewing, tongue lateralization (side-to-side movement), and swallowing. Each of these emerges in sequence, and each unlocks a new texture bandwidth.[1] Research consistently shows that oral motor development baby food should match these skills precisely.[2] For a science-backed overview of stage-by-stage textures, see our gag-free texture progression guide. When texture exceeds skill, babies pack food or reject it entirely. When texture aligns with ability, intake rises, confidence builds, and weight gain follows.[1]
A developmental framework categorizes food textures into five primary groups: liquids, purees, mashed solids, chewable solids, and combination foods, each subdivided by firmness, particle size, moisture content, and how the food breaks down in the mouth.[2] The texture category is determined by how the food is prepared and presented, not its original form.[2] That distinction matters: overcooked squash and soft avocado both belong in the "soft mush" category, while the same pasta can be "soft single-texture" or "mixed-texture" depending on whether you're pairing it solo or in a sauce.
Underlying every successful transition is a simple principle: increase quantity before variety, and increase variety before texture.[4] Here's how that flows:
Offer smooth, liquid purees by spoon. At this stage, your baby's mouth works primarily in vertical movements (up and down). There's minimal lateral tongue movement. Foods should flow easily; think of consistency closer to yogurt than pudding.
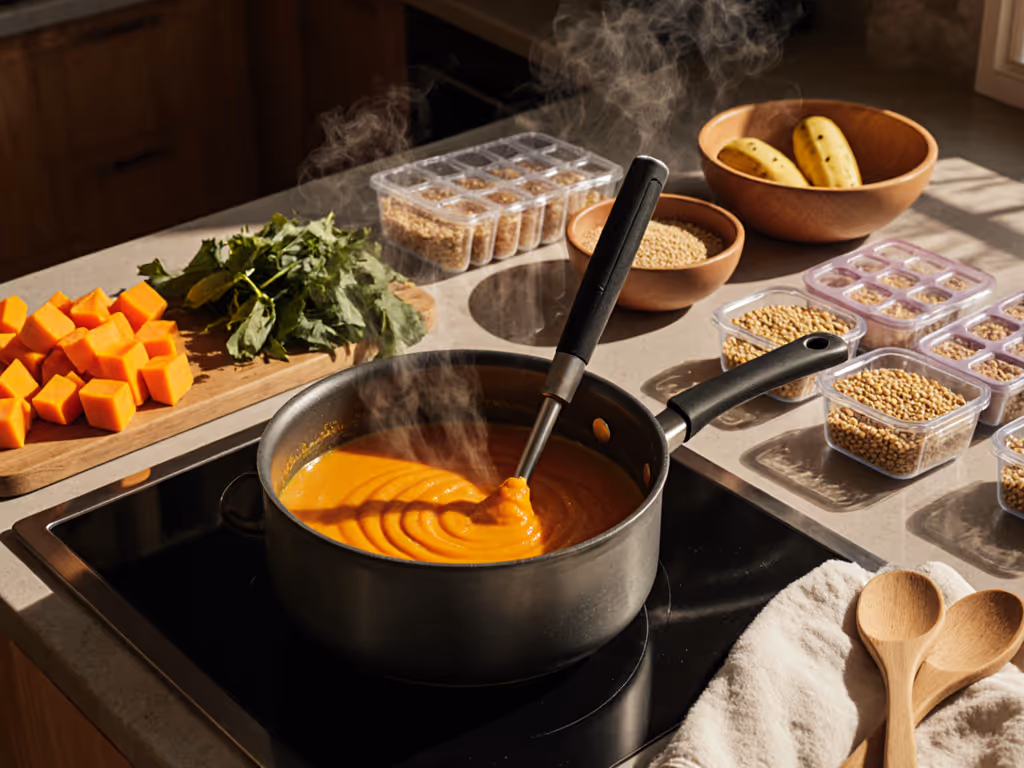
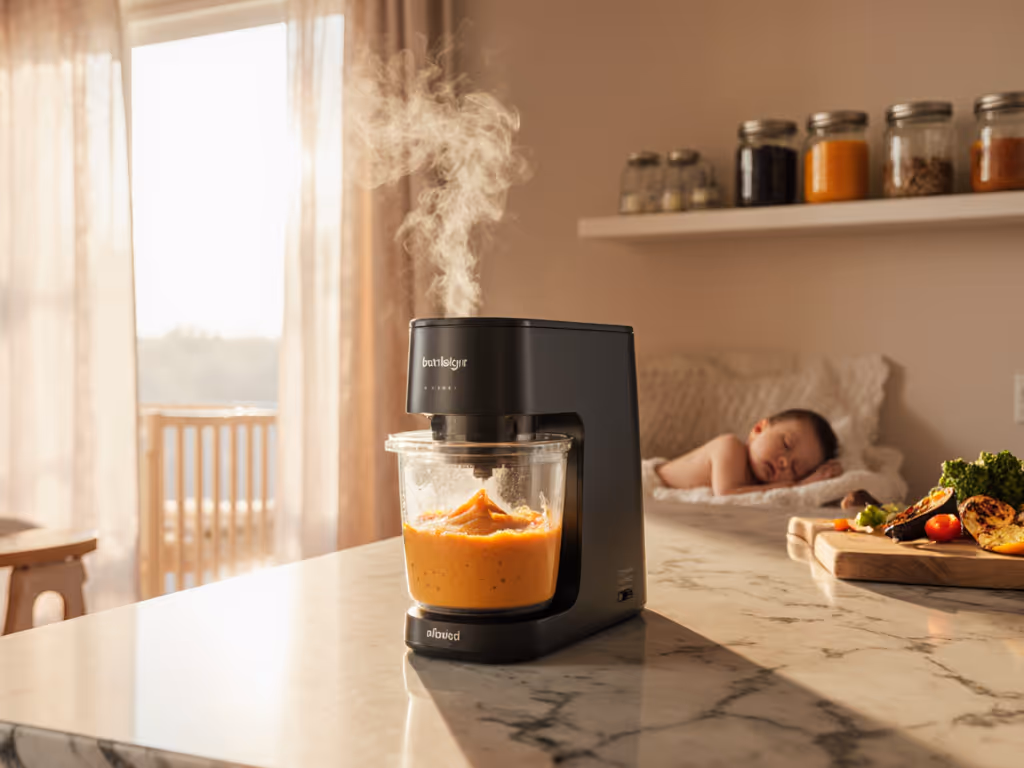
Quiet-prep steps: Steam vegetables or fruits until very soft, then blend with cooking water or breast milk to reach that thin, pourable consistency. A compact, low-noise baby food maker can do this without waking a napping sibling. Store in small freezer containers (4-ounce portions are ideal for batch-and-freeze maps).
As circular rotary movements emerge (your baby's tongue now moves side to side), introduce slightly thicker purees with small, soft bumps.[6] Overripe banana, fork-mashed potato, or purees with a texture akin to thick oatmeal signal readiness for this stage.
Examples include soft-cooked peas, kiwi, avocado, and overcooked squash.[3] With assist, your baby may gnaw on meltable foods like baby puffs. The key: foods should dissolve or mash with minimal tongue pressure.
Your baby's chewing (munching) intensifies. Offer foods that break apart easily in the mouth: soft toast, fruit breads, muffins, soft small pastas, scrambled eggs.[3] These foods require slightly more chewing action but still dissolve readily. A note of caution: one-third of children show difficulty with Stage 3 foods (often called mixed-texture Stage 3), so pacing matters.[3]
Combination foods arrive: macaroni and cheese, soft pasta in sauce, small cubed meats, lasagna.[3] Your baby now uses the tongue to gather scattered pieces and sweep them into a bolus (a coordinated swallow-ready mass). Chewing becomes more purposeful. Texture complexity increases, but foods remain soft enough to compress between a thumb and finger.
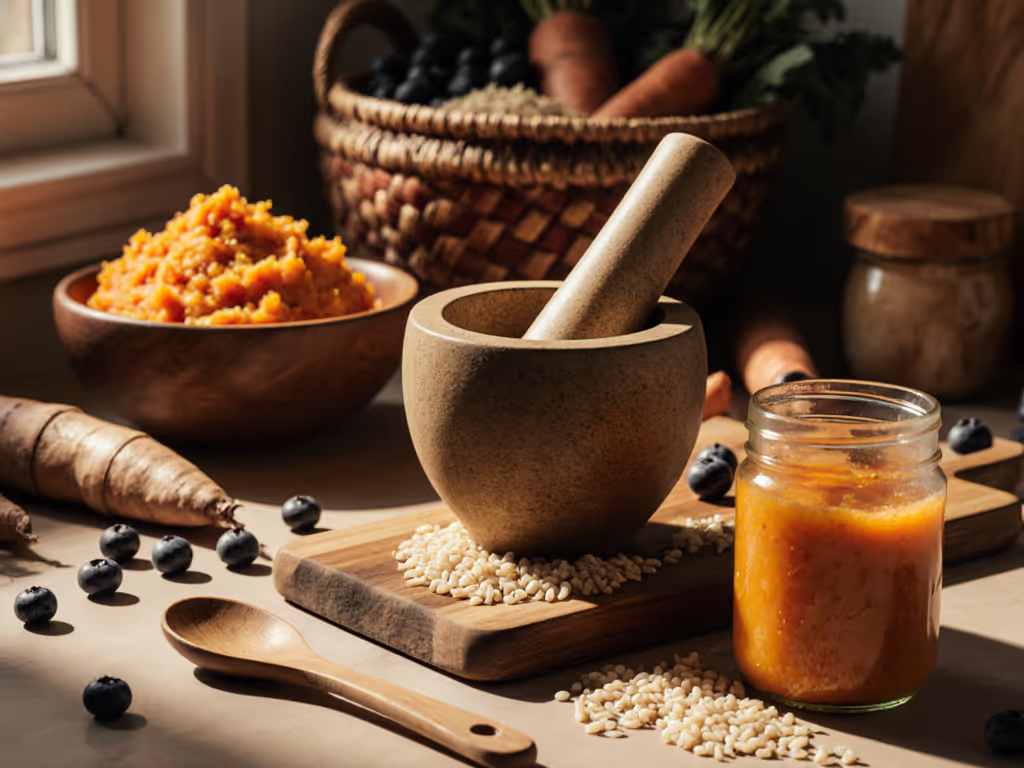
Once your child develops bigger chewing movements and tongue control over harder pieces, chewy, semi-soft, and eventually firmer table foods (whole meals) become appropriate. This is where the journey often circles back: one effort, many plates. That carrot-ginger puree you blended for your infant? Thinned and warmed, it becomes a soup starter for family dinner. The same quiet-prep workflow scales up.
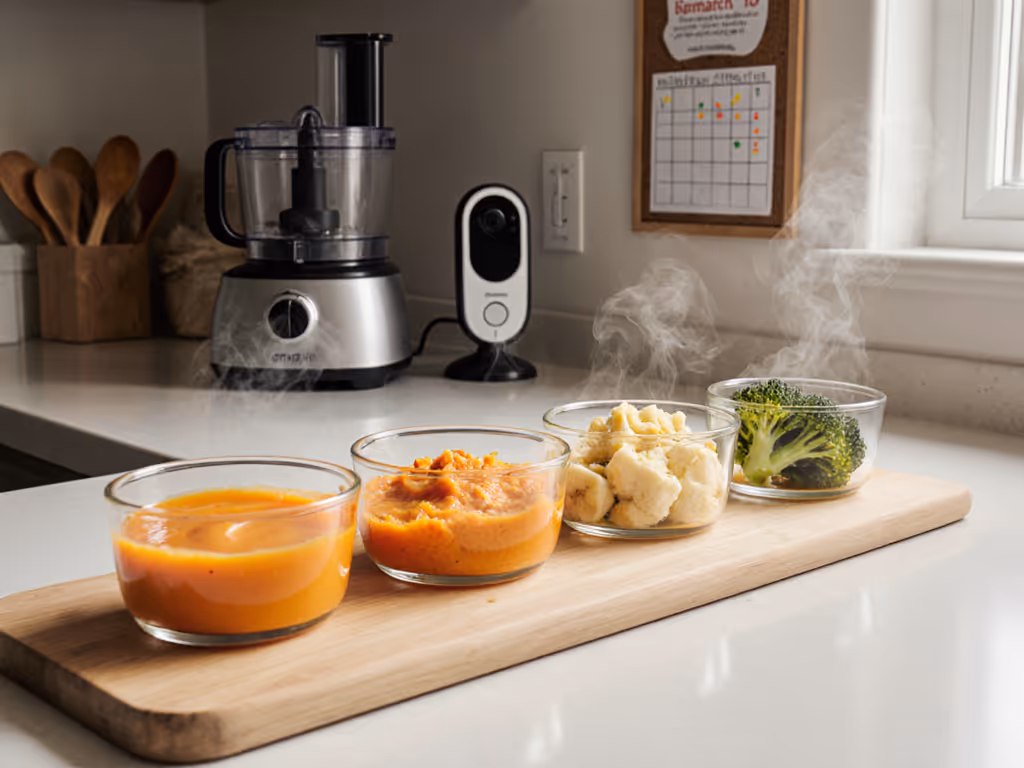
Success lies in ratio-based recipes and a clear batch-and-freeze map (a written guide to what you've prepped, when, and what texture each portion is).
Step 1: Assess Your Child's Current Oral Motor Skills
Observe, don't assume. Can your baby close lips around a spoon? Does the tongue move side to side or only up and down? Can they munch soft foods? Answering these questions pinpoints your starting stage more accurately than age alone.[3]
Step 2: Choose One "Anchor" Food Per Stage
Rather than introducing five new foods at once, select one primary food per texture level. Roasted sweet potato, steamed carrot, or soft-cooked white bean. Master that food's texture ratio, then expand. This reduces decision fatigue and makes batch-cooking straightforward.
Step 3: Document Your Ratio
If your Stage 2 puree is 1 part cooked vegetable to 3 parts liquid, write it down. When Stage 3 arrives, you'll know to adjust to 1 part vegetable to 1.5 parts liquid (or skip liquid altogether). Ratio-based recipes scale predictably and remove the "is this too thick?" spiral.
Step 4: Batch and Freeze by Texture
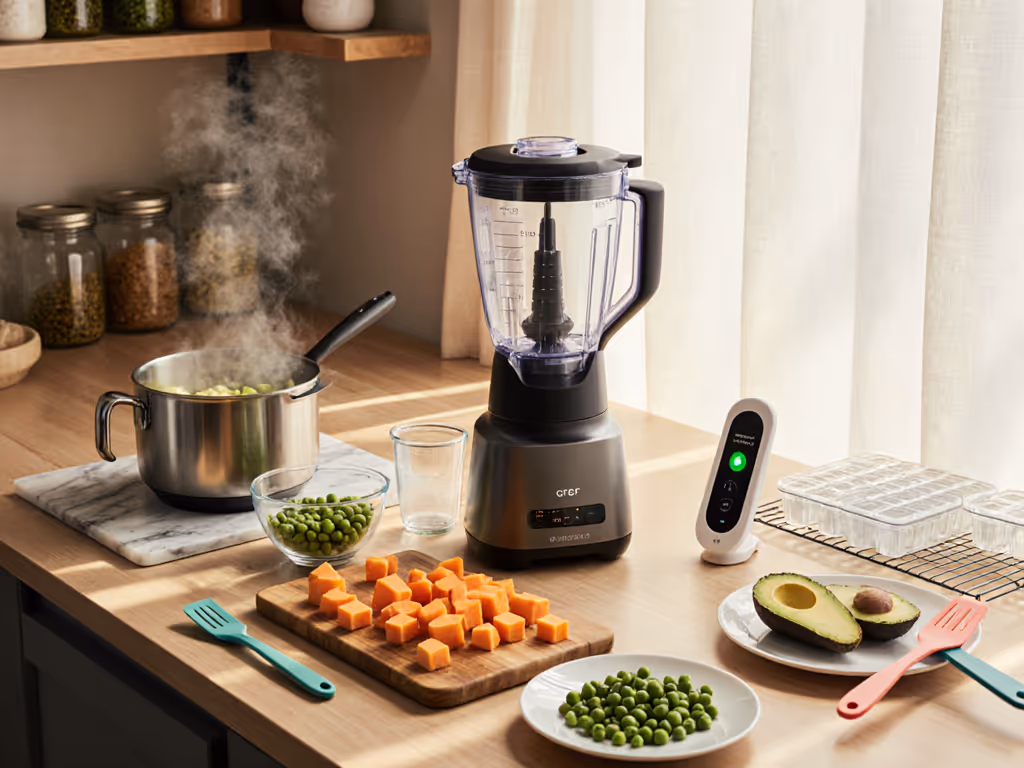
Cook a large batch of your anchor food, divide into texture-specific portions, label (texture + date), and freeze. For portion sizes, storage methods, and freezer organization, see our baby food storage guide. On a quiet morning when your baby is down for a solid nap: prep, blend, portion, freeze. Quiet prep, fast finish. One calm session yields two weeks of texture-matched meals.
Step 5: Progress Gradually and Watch for Packing
If your child begins holding food in their mouth rather than swallowing, texture may have advanced too quickly.[1] Research confirms that high packing is associated with higher textures and lower overall intake; low packing correlates with appropriate texture and higher caloric consumption.[1] If packing appears, pause progression and return to the previous texture for 1-2 weeks. Then advance more gradually (perhaps in half-step increments).
A baby food maker designed for oral motor development baby food preparation should be quiet enough to run during nap time. See our low-noise baby food makers, tested to protect naps during prep. Loud appliances introduce stress (will the baby wake?) and often go unused. Quiet operation matters as much as blend speed. Similarly, modified texture purees require consistent results (a machine that over-processes one day and leaves chunks the next creates anxiety and inconsistent intake).
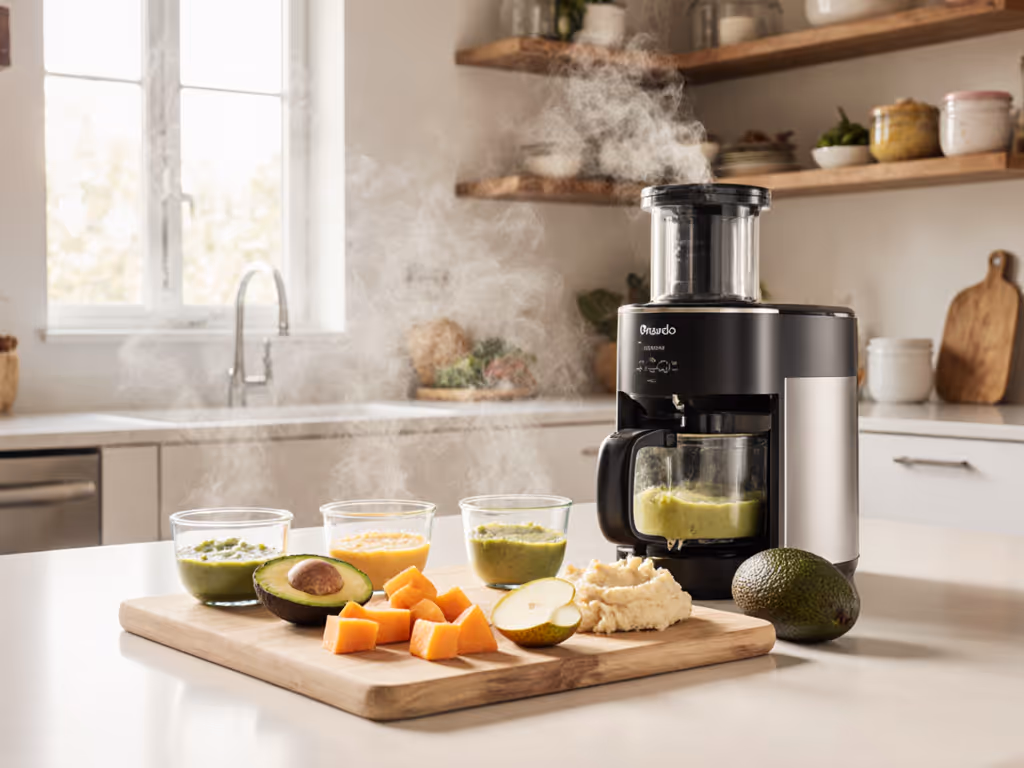
Seek equipment with simple assembly (fewer parts trap food and harbor mold), dishwasher-safe components, and a compact footprint. If it also handles hummus, pesto, or sauces for family meals, it earns years of use rather than gathering dust after month 8.
If your child is packing food, resist the urge to panic. Packing typically signals either a skill gap (texture is too advanced) or a sensory boundary (they need time to acclimate).[1] For medically sensitive cases, see our guide to safe texture modifications for special needs. The response is the same: lower texture, increase familiarity, and revisit progression only after consistent, pack-free meals resume.[1] Studies show that all children who experienced texture reduction gained weight and resumed normal eating patterns during follow-up.[1]
Textured purees aren't just for babies. A steamed-and-blended base becomes soft soup, dip, pasta sauce, or breakfast porridge depending on ratio and seasoning. This family-first framing (building meals everyone can eat) transforms feeding from a parallel production (baby food on one burner, adult food on another) into one calm workflow.
As your child progresses through texture stages, consider consulting a pediatric feeding therapist if packing persists, choking anxiety is high, or if progression stalls. Feeding therapy baby food frameworks exist for precisely these scenarios, and professional guidance can rule out underlying oral motor or sensory concerns.
Document your child's progression (dates, textures, reactions) so you and your pediatrician (or therapist) have concrete data. Small adjustments, guided by observation and ratio-based planning, usually resolve early feeding hesitations.
Your role is to offer the right texture at the right time, stay calm, and protect those naps along the way. The rest follows.